
Week 06: Midterm Project — Crying Statue Documentation
1. How the Entire System Works
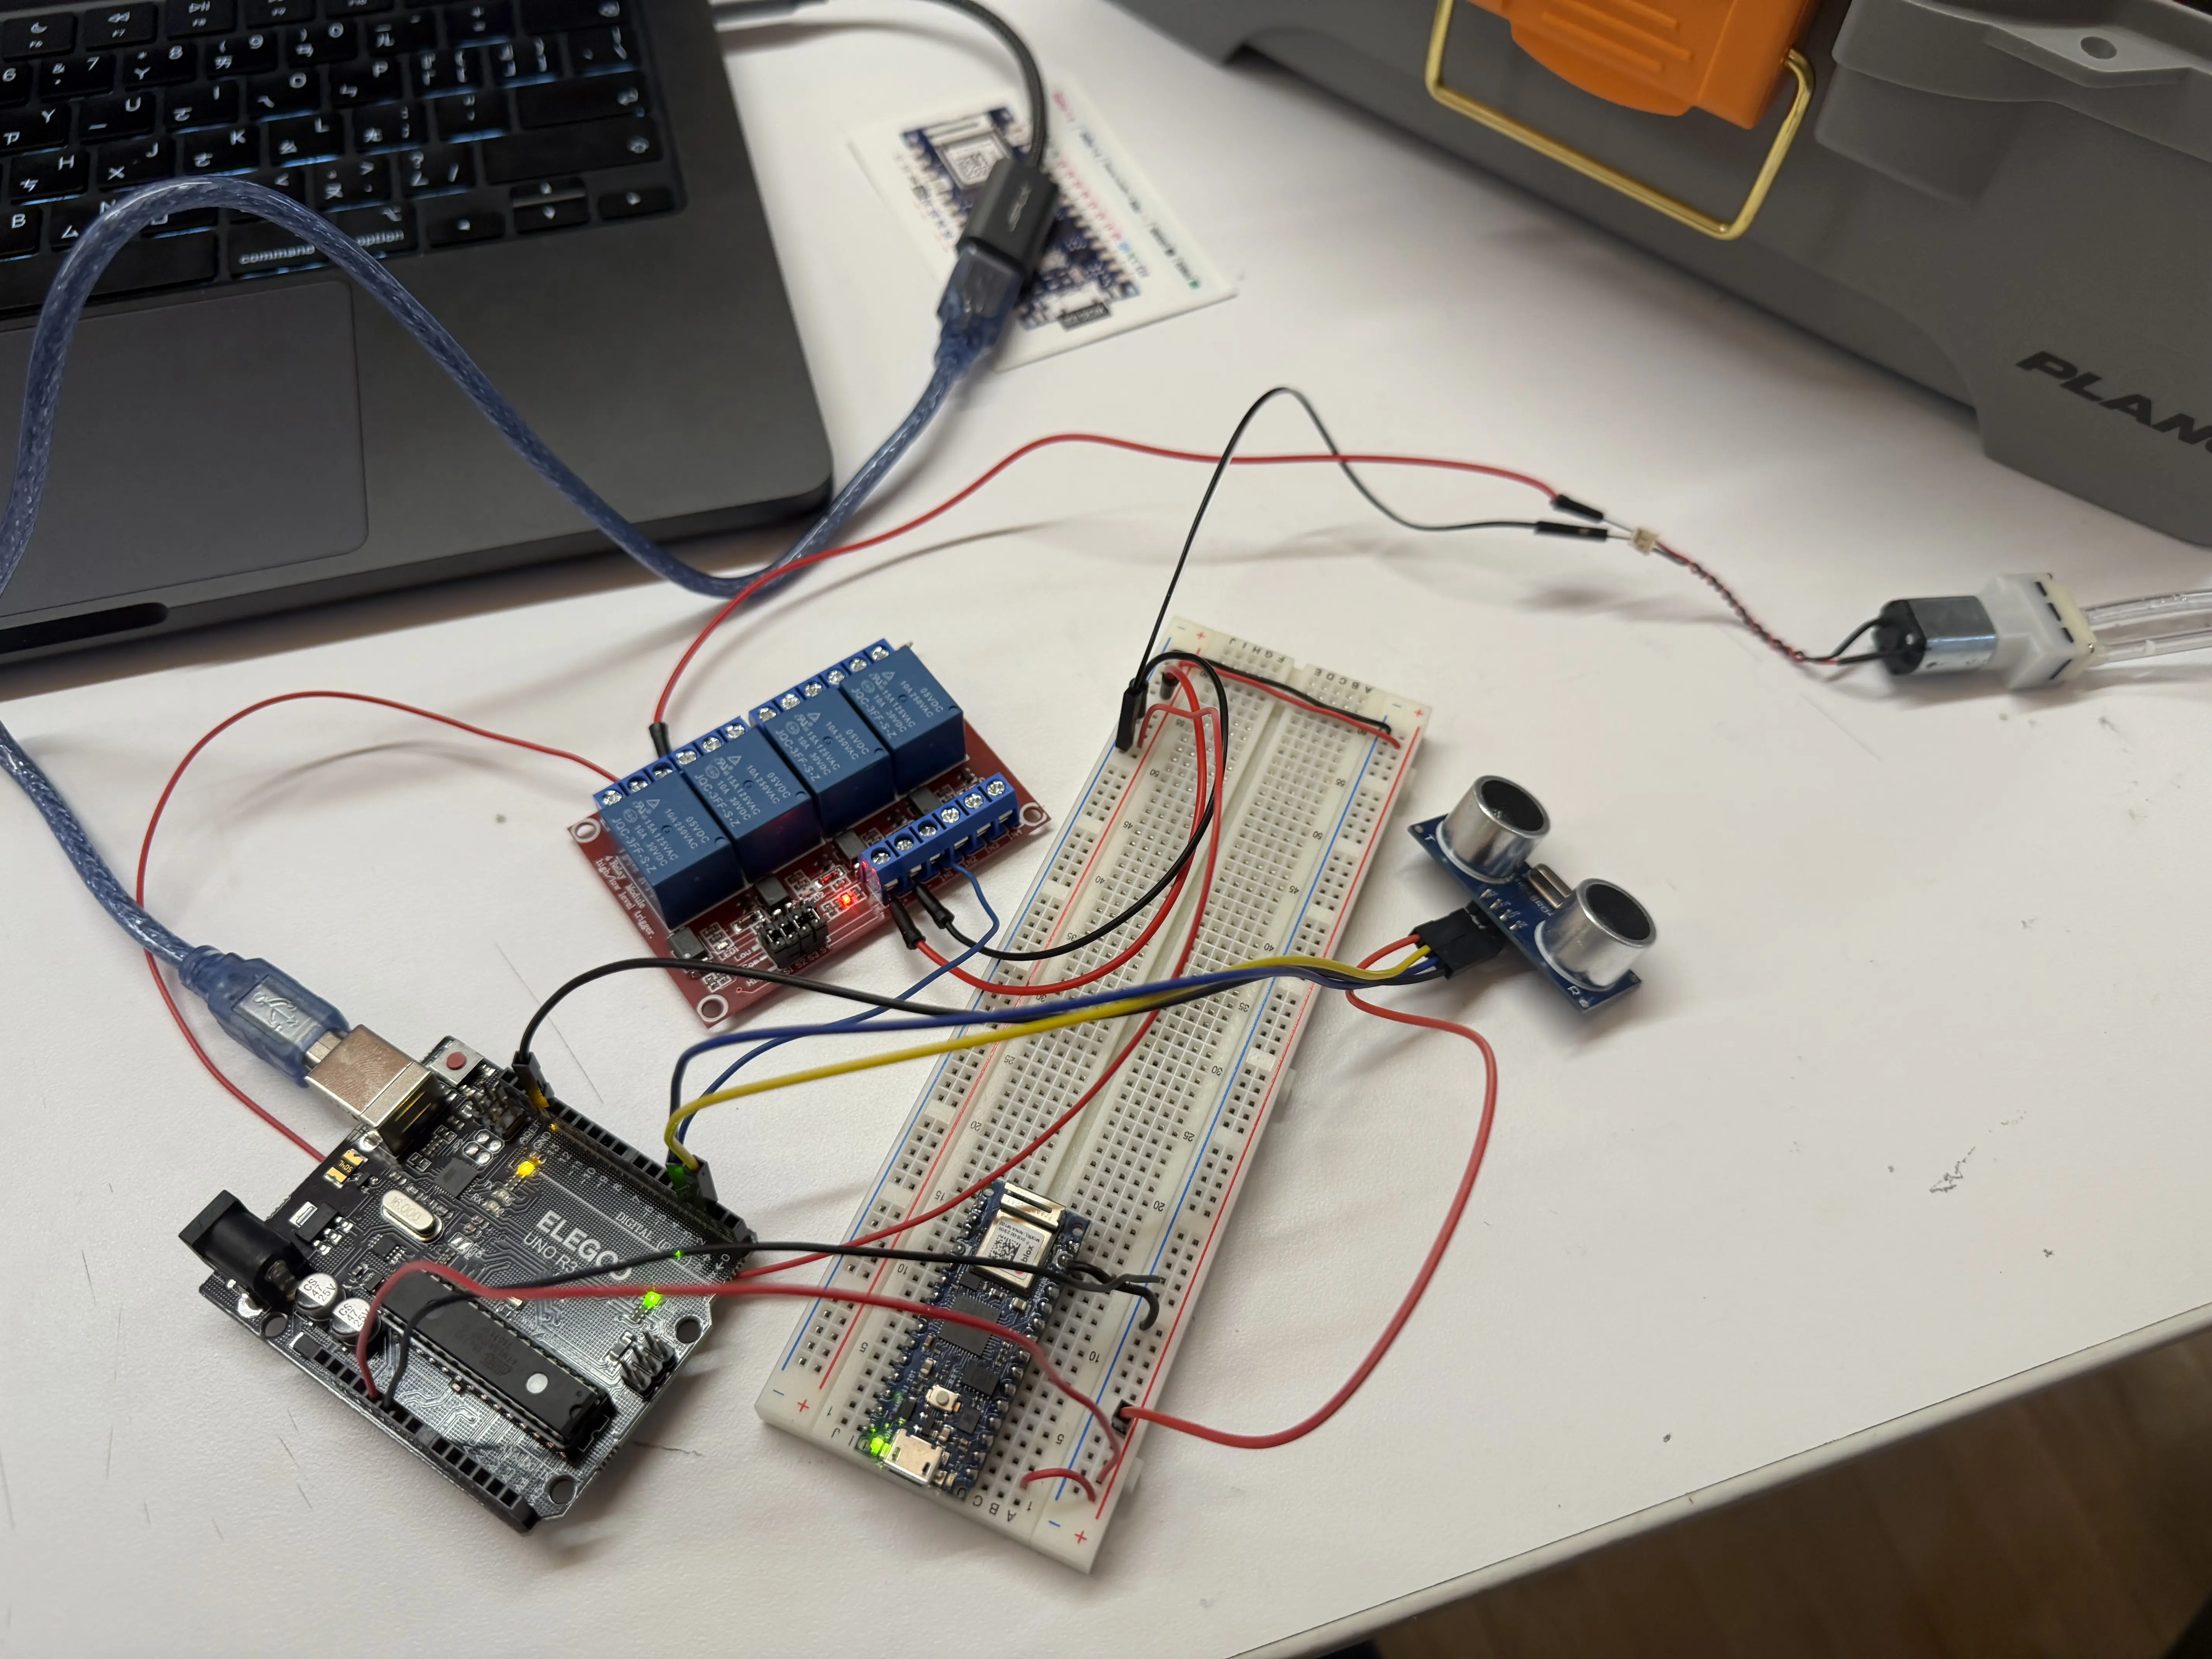
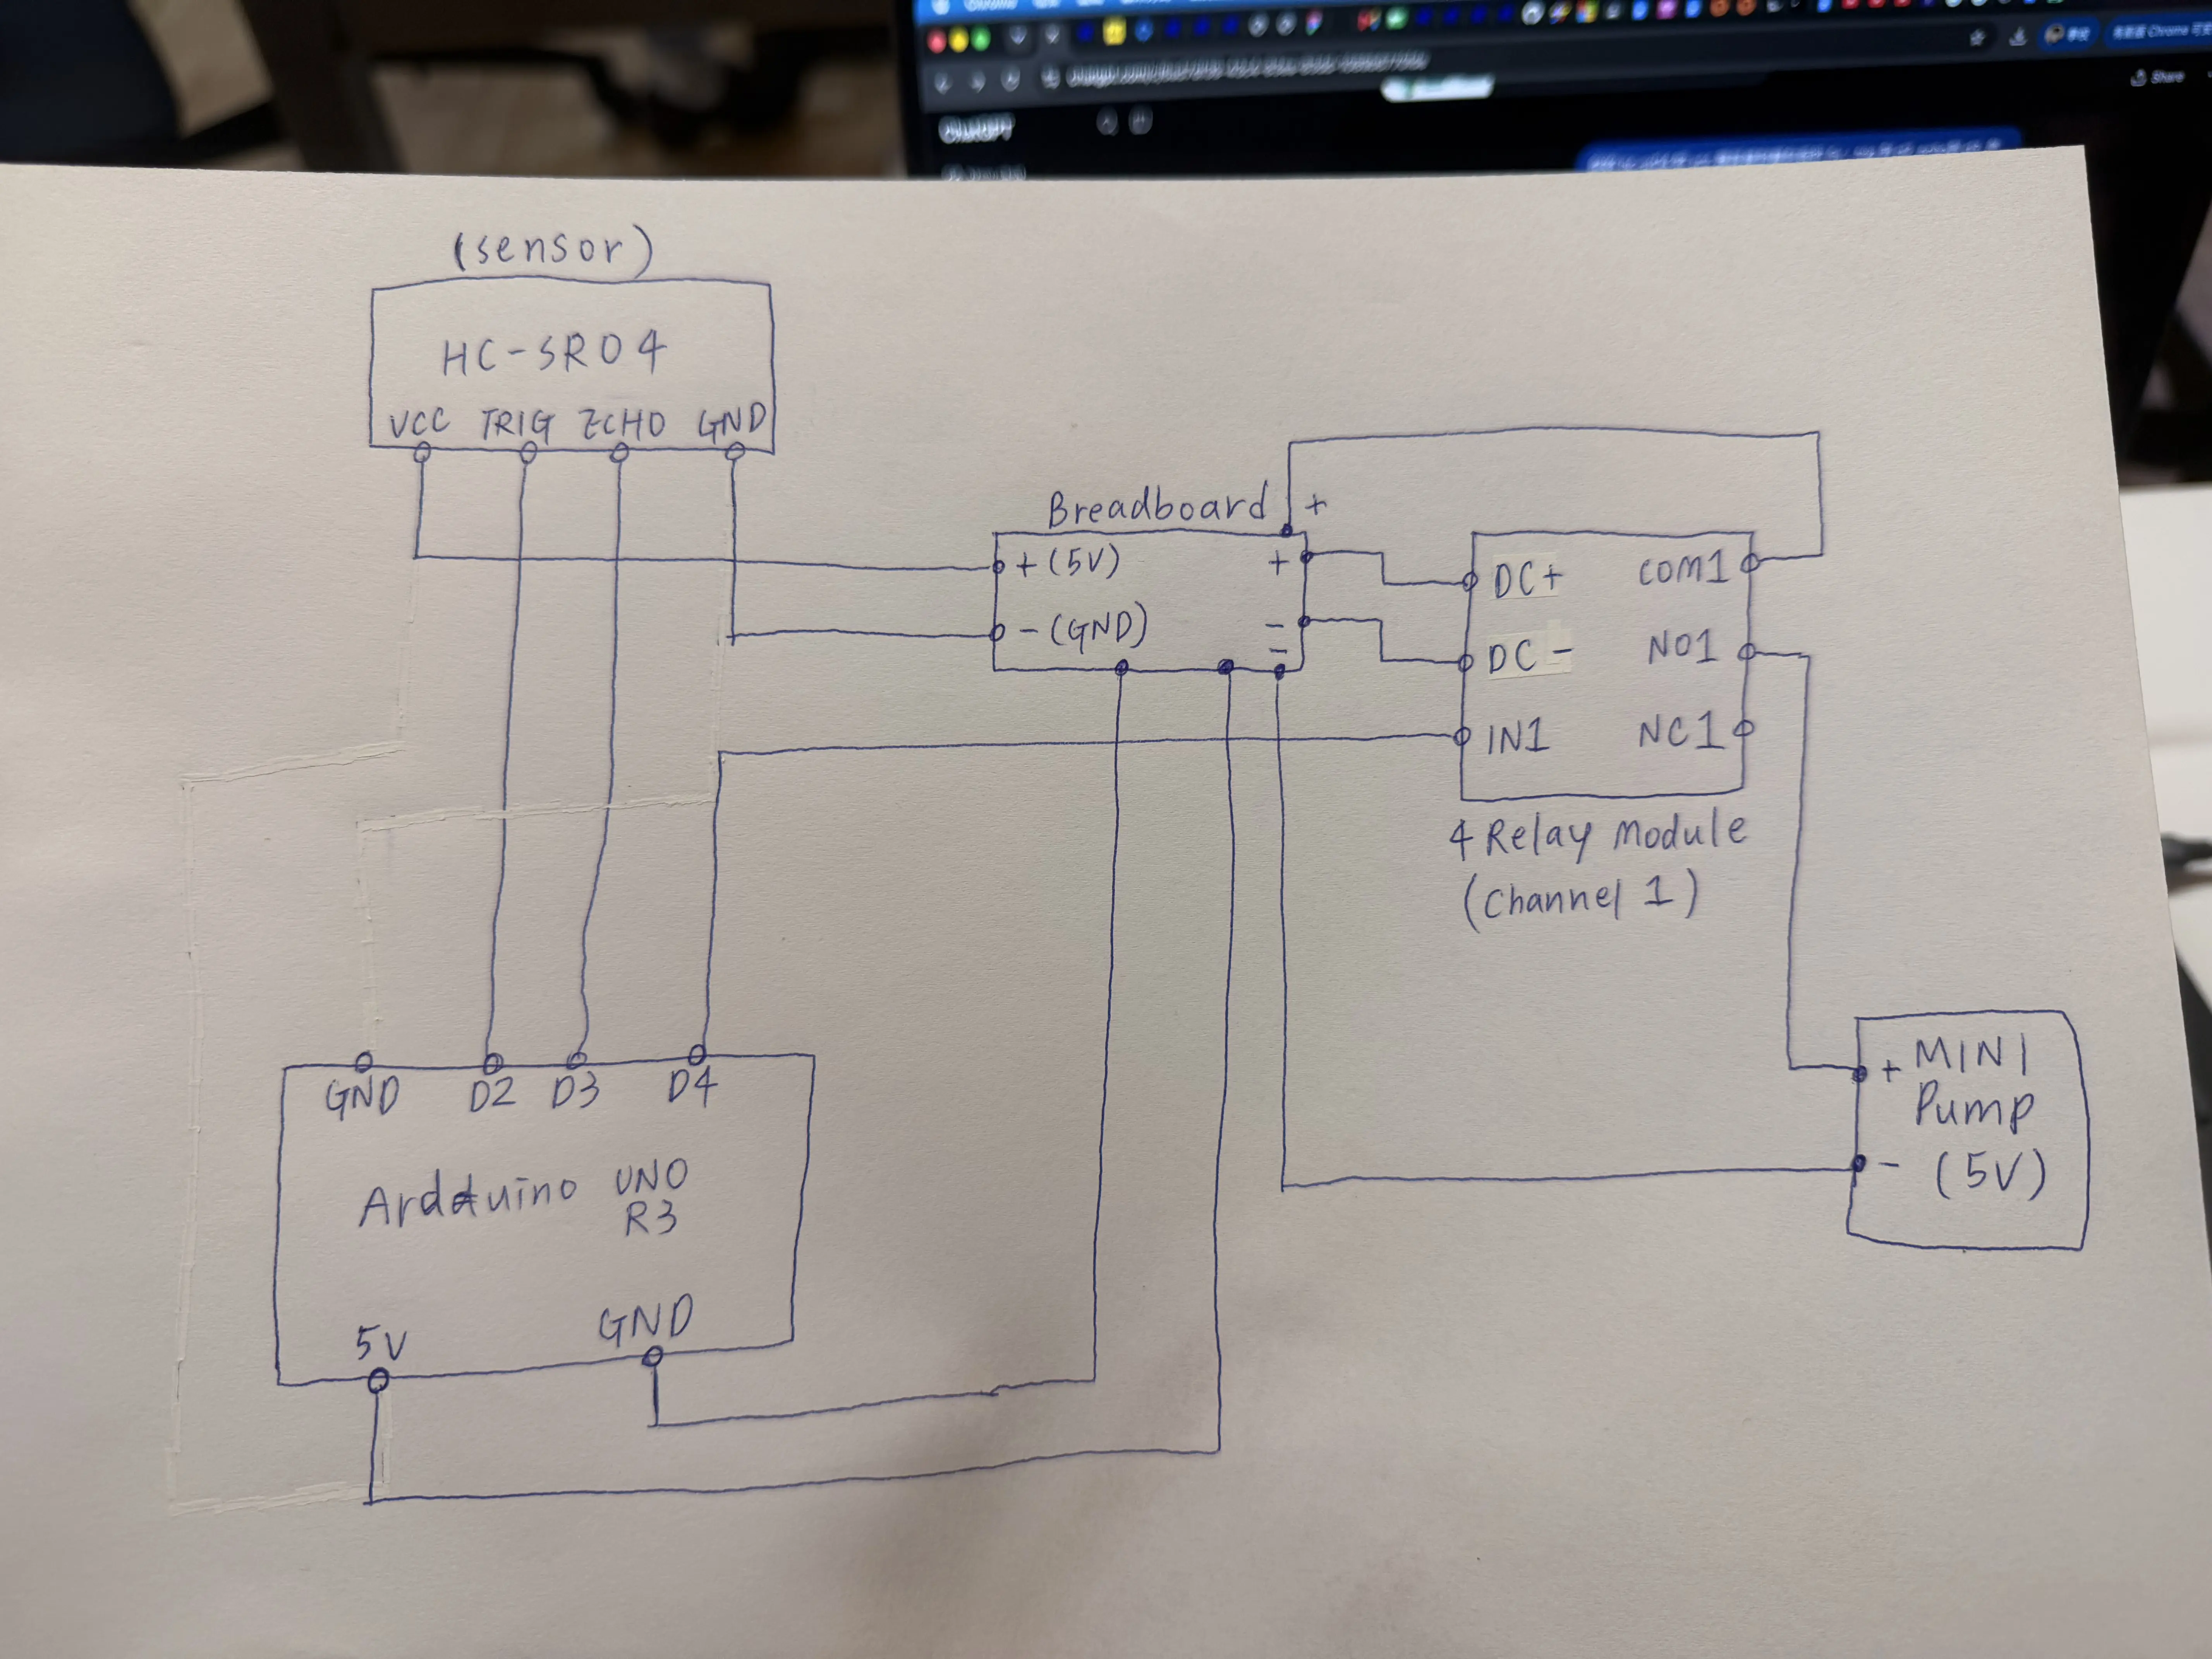
The goal of this project is to use an ultrasonic sensor to detect how close a person is to the statue, then control a mini water pump through a relay. The system works as a continuous process:
HC-SR04 Sensor → Arduino → Relay → Water Pump
Measure distance → Calculate distance → Switch the relay → Turn the pump on or off
There are two different types of flow in this system:
- Signal flow: Electrical signals travel between the sensor, Arduino, and relay control input. These signals tell the system what to do.
- Current flow: Electrical current flows from the power supply through the relay contacts and the pump. This provides the energy needed to run the pump.
The relay acts as an electrically controlled switch. The Arduino sends a small control signal to the relay, and the relay switches the pump's power circuit on or off.
2. Understanding the HC-SR04 Ultrasonic Sensor
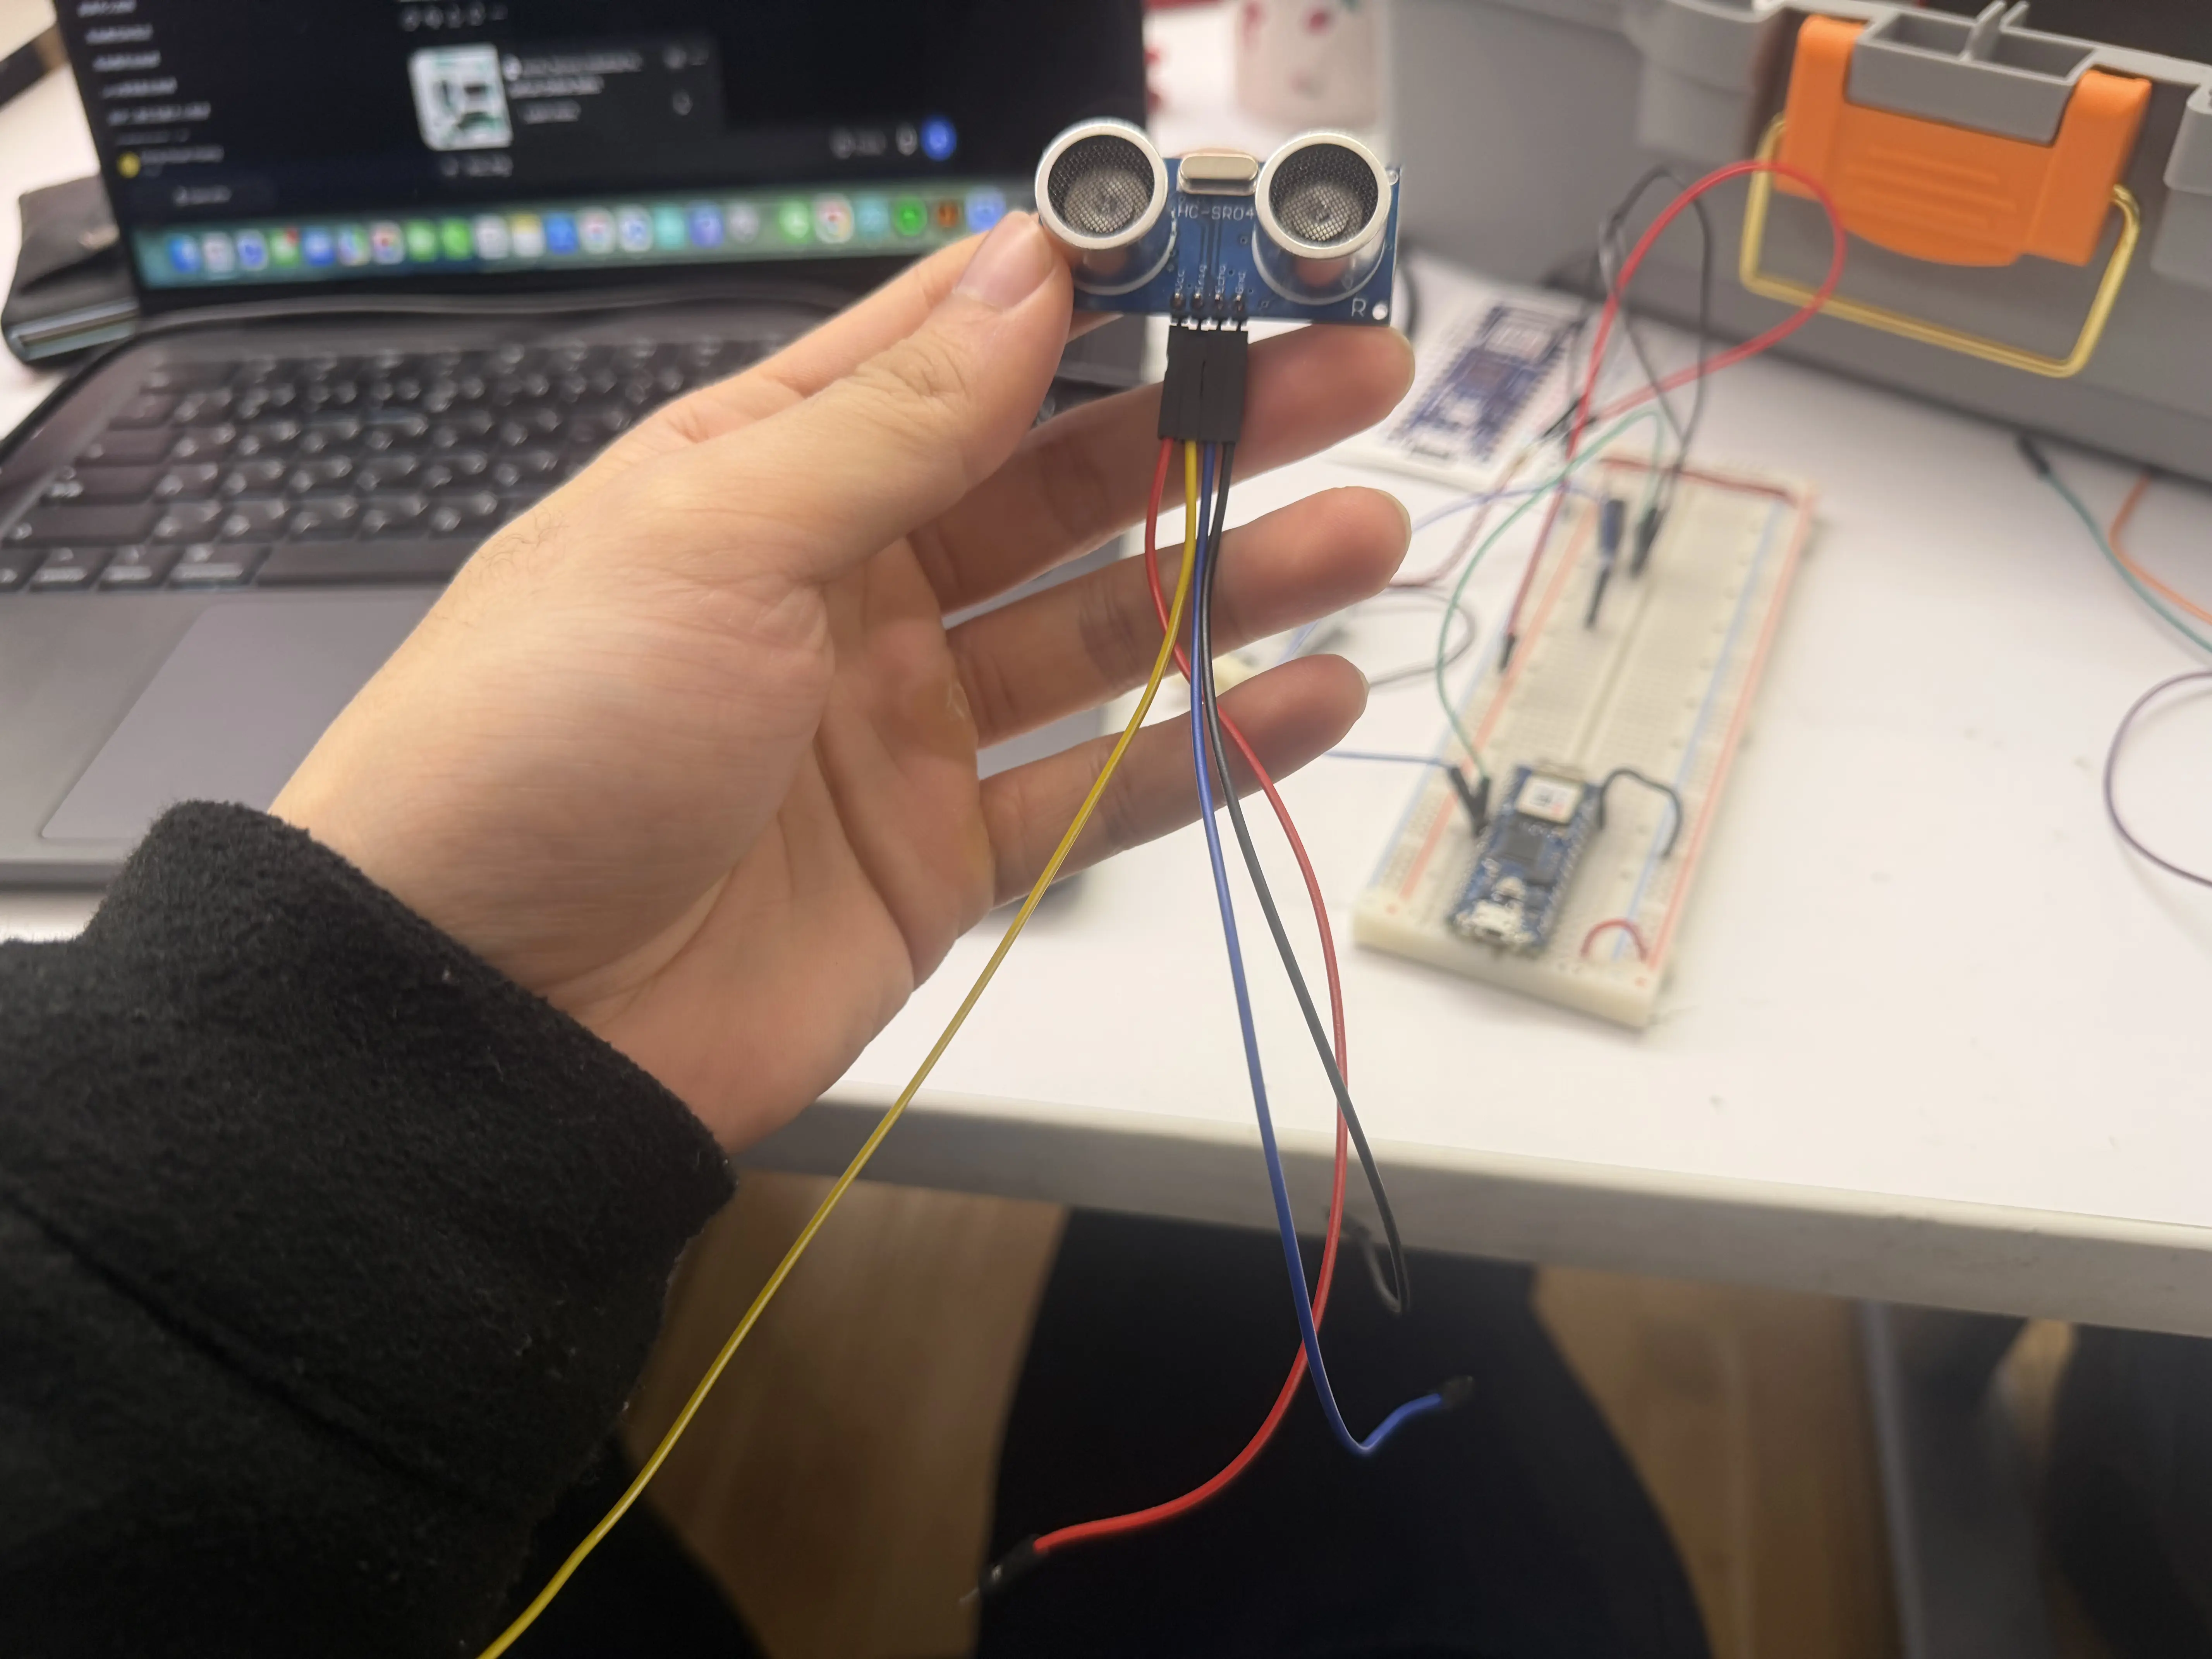
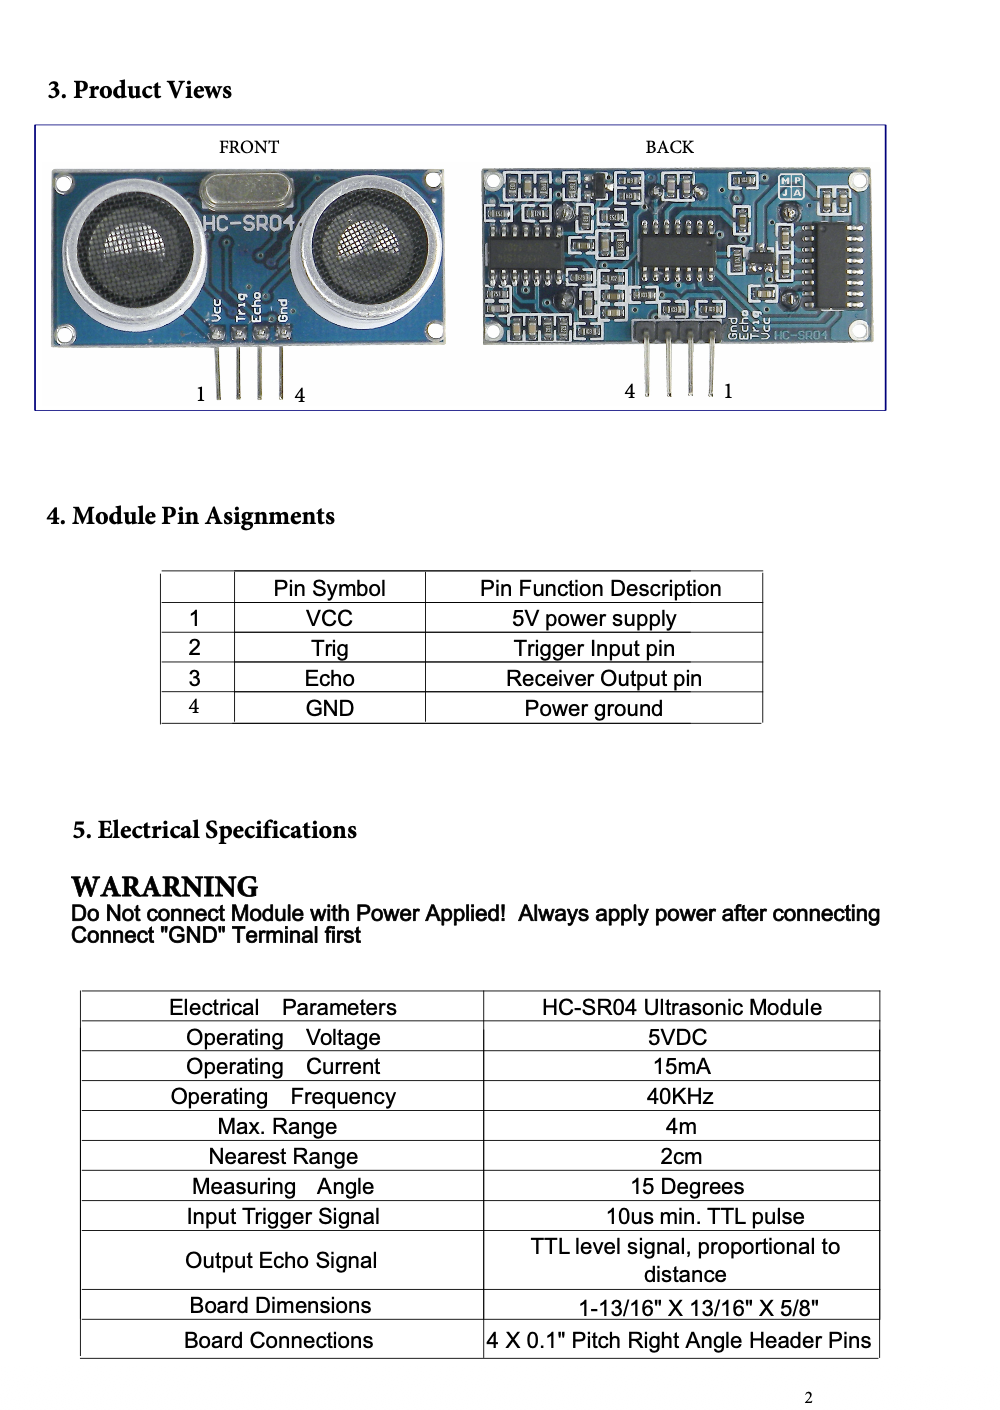
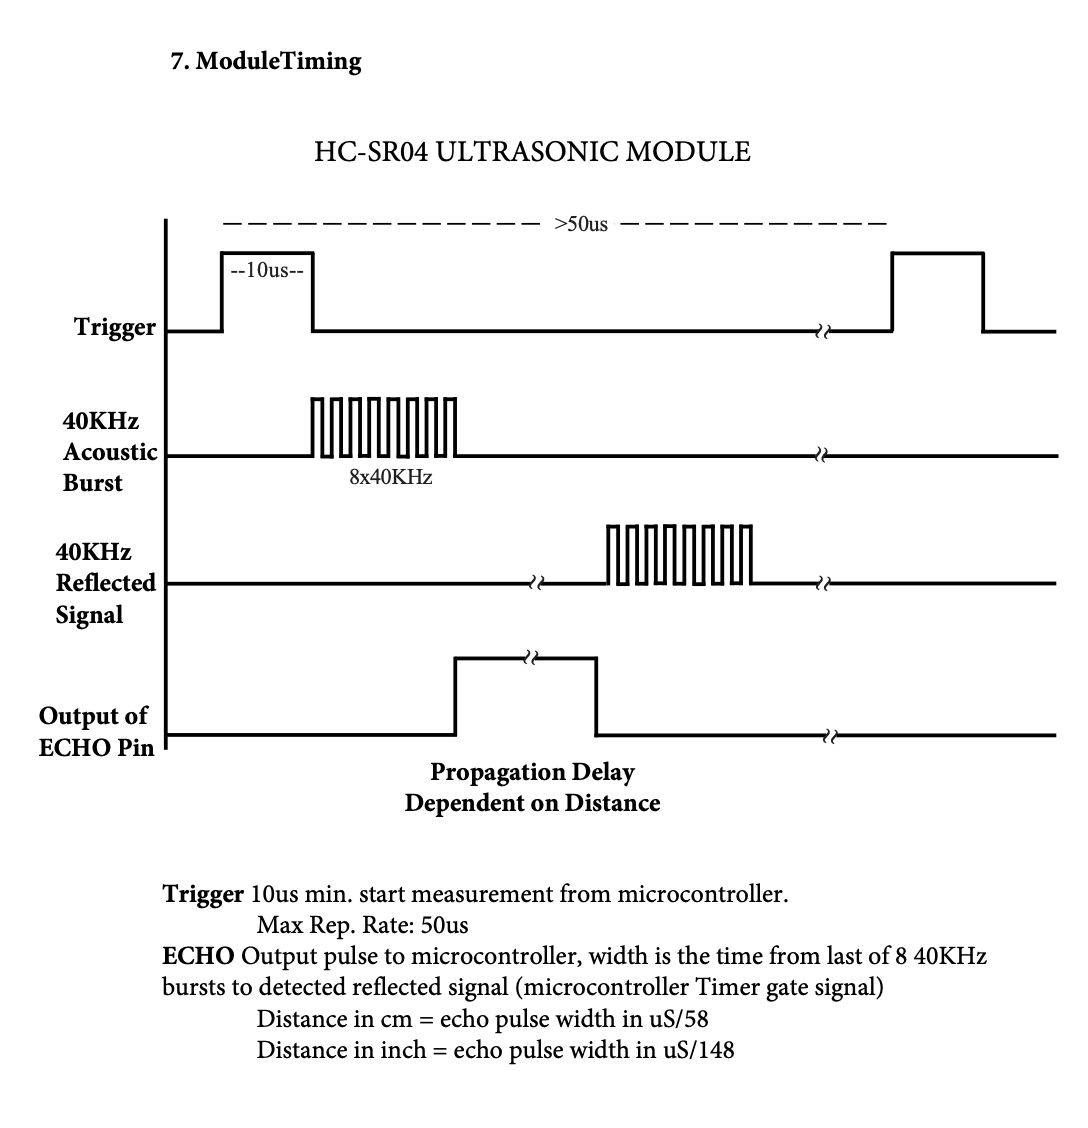
The HC-SR04 measures distance by sending out ultrasonic sound waves and measuring how long they take to travel to an object and bounce back.
What do VCC, GND, TRIG, and ECHO do?
- VCC: Supplies power to the sensor. In this setup, it is connected to the Arduino's 5V supply.
- GND: Connects to ground and provides the electrical reference for the circuit.
- TRIG (D2): The Arduino sends a short HIGH pulse to trigger a measurement. In this project, the trigger pulse lasts for 10 microseconds.
- ECHO (D3): The sensor outputs a HIGH pulse whose duration represents the round-trip travel time of the ultrasonic sound wave.
How does the sensor measure distance?
- The Arduino sends a trigger pulse through TRIG.
- The sensor emits ultrasonic sound waves toward the object.
- The sound waves bounce off the object and return to the sensor.
- The ECHO pin stays HIGH for a duration related to the sound's round-trip travel time.
- The Arduino measures this duration and calculates the distance.
Since sound travels to the object and back, the measured distance is half of the total travel distance.
Distance formula
Distance = Duration × 0.0343 ÷ 2
The speed of sound is approximately 0.0343 cm per microsecond. The division by 2 accounts for the round trip.
What are HIGH and LOW?
In digital electronics, HIGH and LOW represent two logic states. With the Arduino Uno R3 used in this project, HIGH is approximately 5V and LOW is approximately 0V.
- HIGH: A digital signal representing the HIGH logic state.
- LOW: A digital signal representing the LOW logic state.
These are signal levels, not descriptions of how much current is flowing. For example, the ECHO pin's HIGH duration carries timing information that the Arduino can use to calculate distance.
Here is the entire code
const int trigPin = 2;
const int echoPin = 3;
const int relayPin = 4;

const float triggerDistance = 10.0; // measure the distance 10cm

// High-level triggered relay
const int RELAY_ON = HIGH;
const int RELAY_OFF = LOW;

void setup() {
  Serial.begin(9600);

  pinMode(trigPin, OUTPUT);
  pinMode(echoPin, INPUT);
  pinMode(relayPin, OUTPUT);

  // Make sure the pump is off at startup
  digitalWrite(relayPin, RELAY_OFF);

  digitalWrite(trigPin, LOW);
  delay(100);
}

void loop() {
  // send signal
  digitalWrite(trigPin, LOW);
  delayMicroseconds(2);

  digitalWrite(trigPin, HIGH);
  delayMicroseconds(10);
  digitalWrite(trigPin, LOW);

  // read ECHO pulse time, wait for maxium 30 ms
  unsigned long duration = pulseIn(echoPin, HIGH, 30000UL);

  if (duration == 0) {
    // no echo, close the pump
    digitalWrite(relayPin, RELAY_OFF);
    Serial.println("No echo - Pump OFF");
  } else {
    // measure distance, unit - cm
    float distance = duration * 0.0343 / 2.0;

    Serial.print("Distance: ");
    Serial.print(distance);
    Serial.println(" cm");

    if (distance < triggerDistance) {
      digitalWrite(relayPin, RELAY_ON);
      Serial.println("Pump ON");
    } else {
      digitalWrite(relayPin, RELAY_OFF);
      Serial.println("Pump OFF");
    }
  }

  delay(100);
}
3. Understanding Pulses and pulseIn()
A pulse is a temporary change in a signal's logic level. In this project, the Arduino sends a short trigger pulse, while the sensor returns an echo pulse whose duration is used to measure distance.
The following code sends a trigger pulse:
digitalWrite(trigPin, LOW);
delayMicroseconds(2);
digitalWrite(trigPin, HIGH);
delayMicroseconds(10);
digitalWrite(trigPin, LOW);- digitalWrite(): Sets a digital pin to HIGH or LOW.
- delayMicroseconds(10): Keeps the trigger signal HIGH for 10 microseconds.
- pulseIn(echoPin, HIGH, 30000UL): Measures how long the ECHO pin remains HIGH, in microseconds.
The third argument, 30000UL, sets a timeout of 30,000 microseconds, or 30 milliseconds. The U means unsigned, and L means long. Together, UL makes the number an unsigned long integer literal, which is suitable for this timing value.
The return value is stored in an unsigned long variable because the duration is a non-negative integer. If no valid HIGH pulse is detected before the timeout, pulseIn() returns 0.
unsigned long duration = pulseIn(echoPin, HIGH, 30000UL);

if (duration == 0) {
  // No echo was received within the timeout.
} else {
  float distance = duration * 0.0343 / 2.0;
}
4. Understanding the Relay
A relay is an electrically controlled switch. It allows a low-power control signal to switch a separate electrical load circuit. In my project, the Arduino controls the relay, and the relay switches power to the mini pump.
Relay module control pins
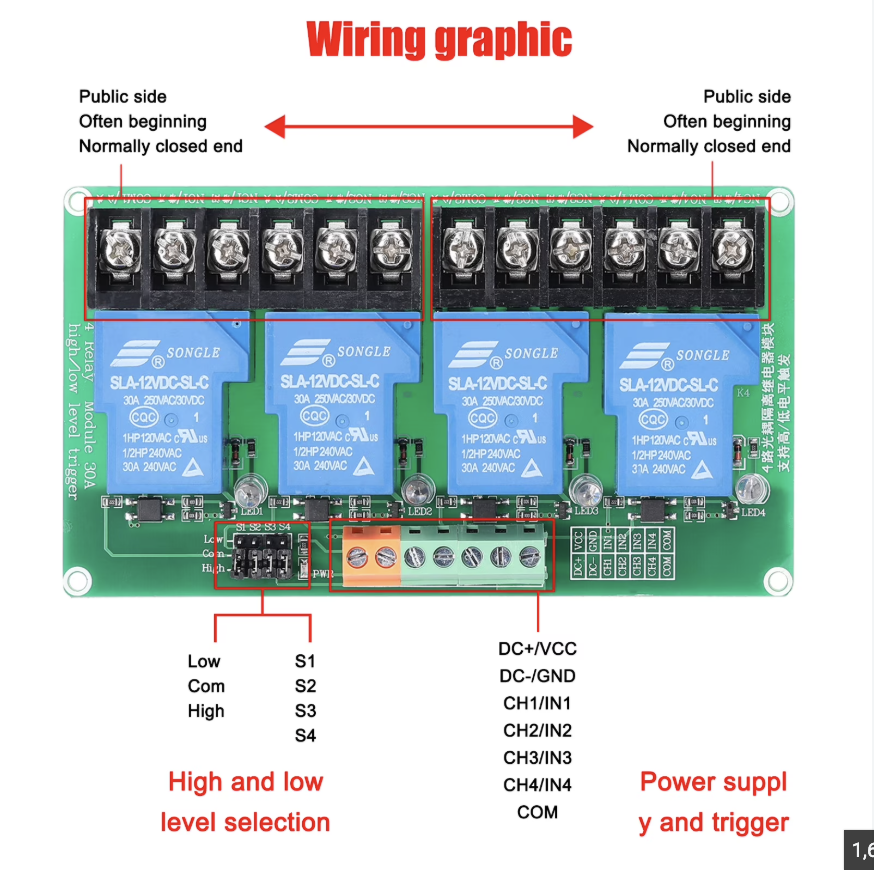
- DC+: Supplies power to the relay module.
- DC−: Ground connection for the module's control circuit.
- IN1: Receives the control signal from Arduino D4 to switch the first relay channel.
The relay module's trigger mode determines whether a HIGH or LOW signal activates the relay. My current setup uses the COM−High jumper configuration, so the code is written for HIGH-level activation. The actual behavior should always be verified against the module's labeling and documentation.
What are COM, NO, and NC?
- COM (Common): The common contact of the relay switch.
- NO (Normally Open): The circuit between COM and NO is open when the relay is inactive. It closes when the relay activates.
- NC (Normally Closed): The circuit between COM and NC is closed when the relay is inactive. It opens when the relay activates.
I use COM and NO so that the pump is normally off. When the relay activates, the contacts close and allow current to flow through the pump circuit.
5. Connecting the Sensor to the Pump
The Arduino reads the distance from the HC-SR04 and compares it with a threshold of 10 cm. If an object is closer than 10 cm, the Arduino activates the relay. Otherwise, it turns the relay off.
const float triggerDistance = 10.0;

if (distance < triggerDistance) {
  digitalWrite(relayPin, HIGH);
  Serial.println("Pump ON");
} else {
  digitalWrite(relayPin, LOW);
  Serial.println("Pump OFF");
}
This is proximity detection rather than gesture recognition. The pump turns on whenever the measured distance is below the threshold. To recognize a gesture, I would need to analyze a sequence of distance measurements over time, such as moving a hand toward the sensor and then moving it away.
Understanding the pump's power requirements
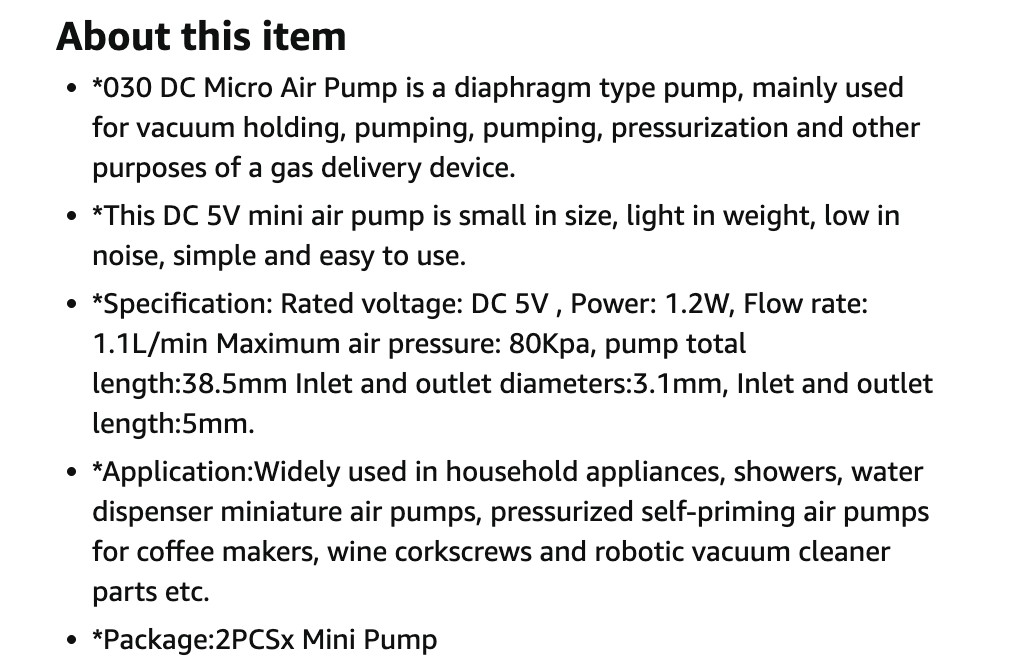
My mini pump is rated at DC 5V and 1.2W. Its estimated rated current is:
Current = Power ÷ Voltage
1.2W ÷ 5V = 0.24A
This equals approximately 240 mA at its rated operating point. The startup current may be higher.
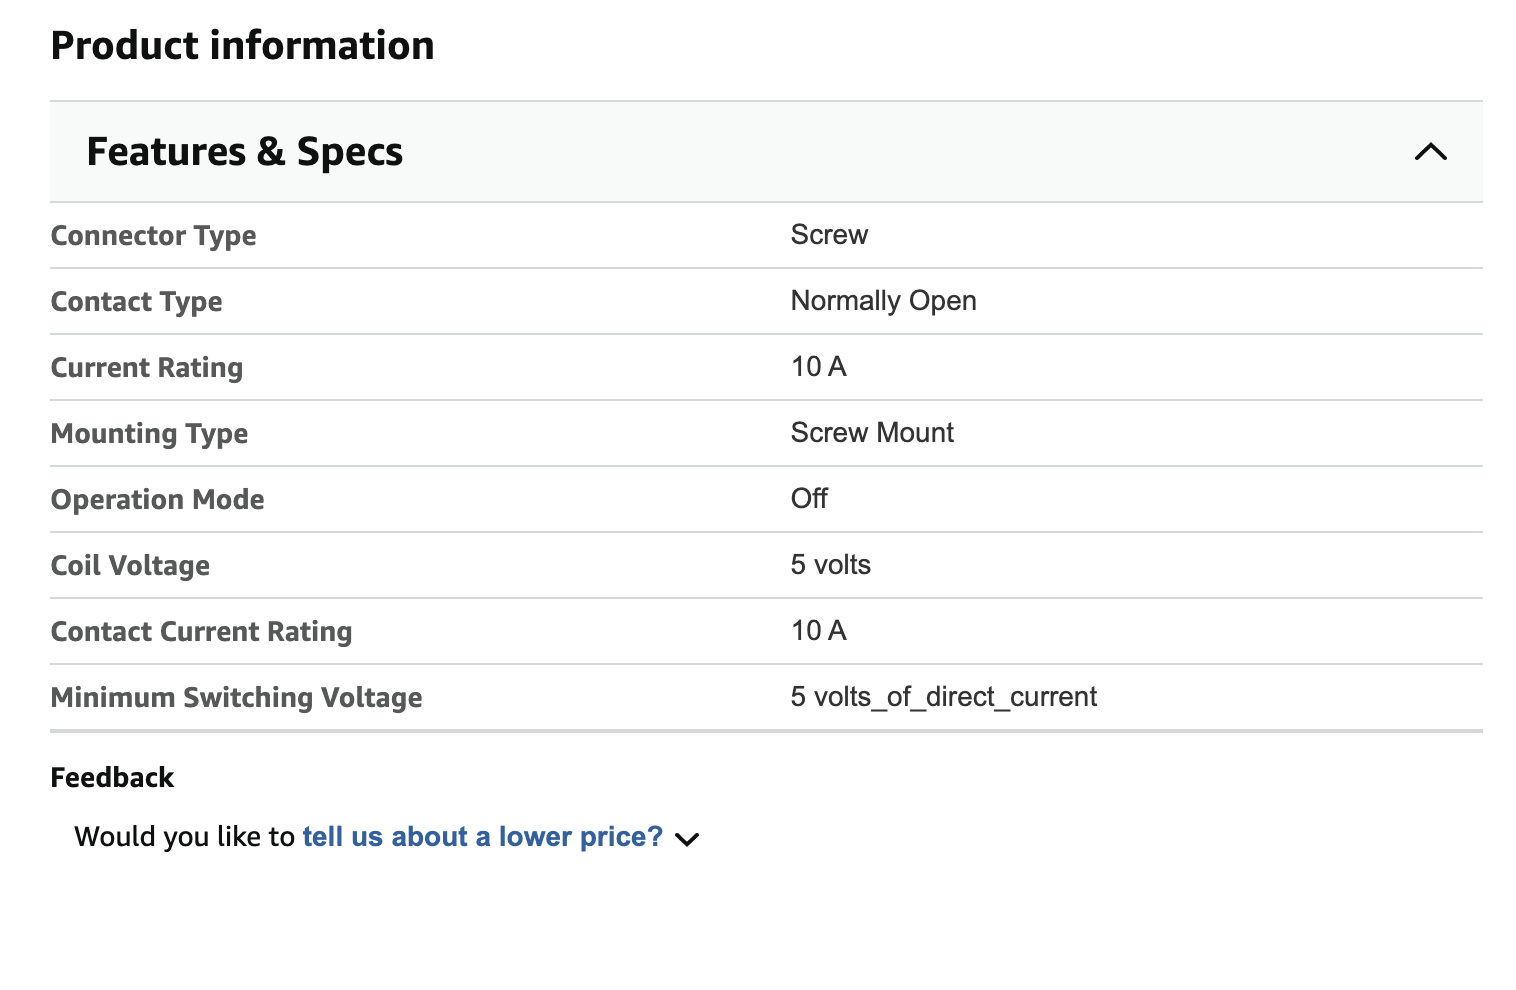
The relay switches the pump's power circuit, but it does not provide power by itself. The pump needs a suitable 5V supply capable of providing enough current. An external 5V supply is preferable to powering the pump directly from the Arduino's USB 5V rail.
When using an external supply, its positive terminal should feed the pump through the relay contacts, and its negative terminal should connect to the pump's negative terminal. The Arduino and relay module's control circuit must also be powered and grounded correctly according to the relay module's specifications.
6. Why I Switched to Arduino Uno R3
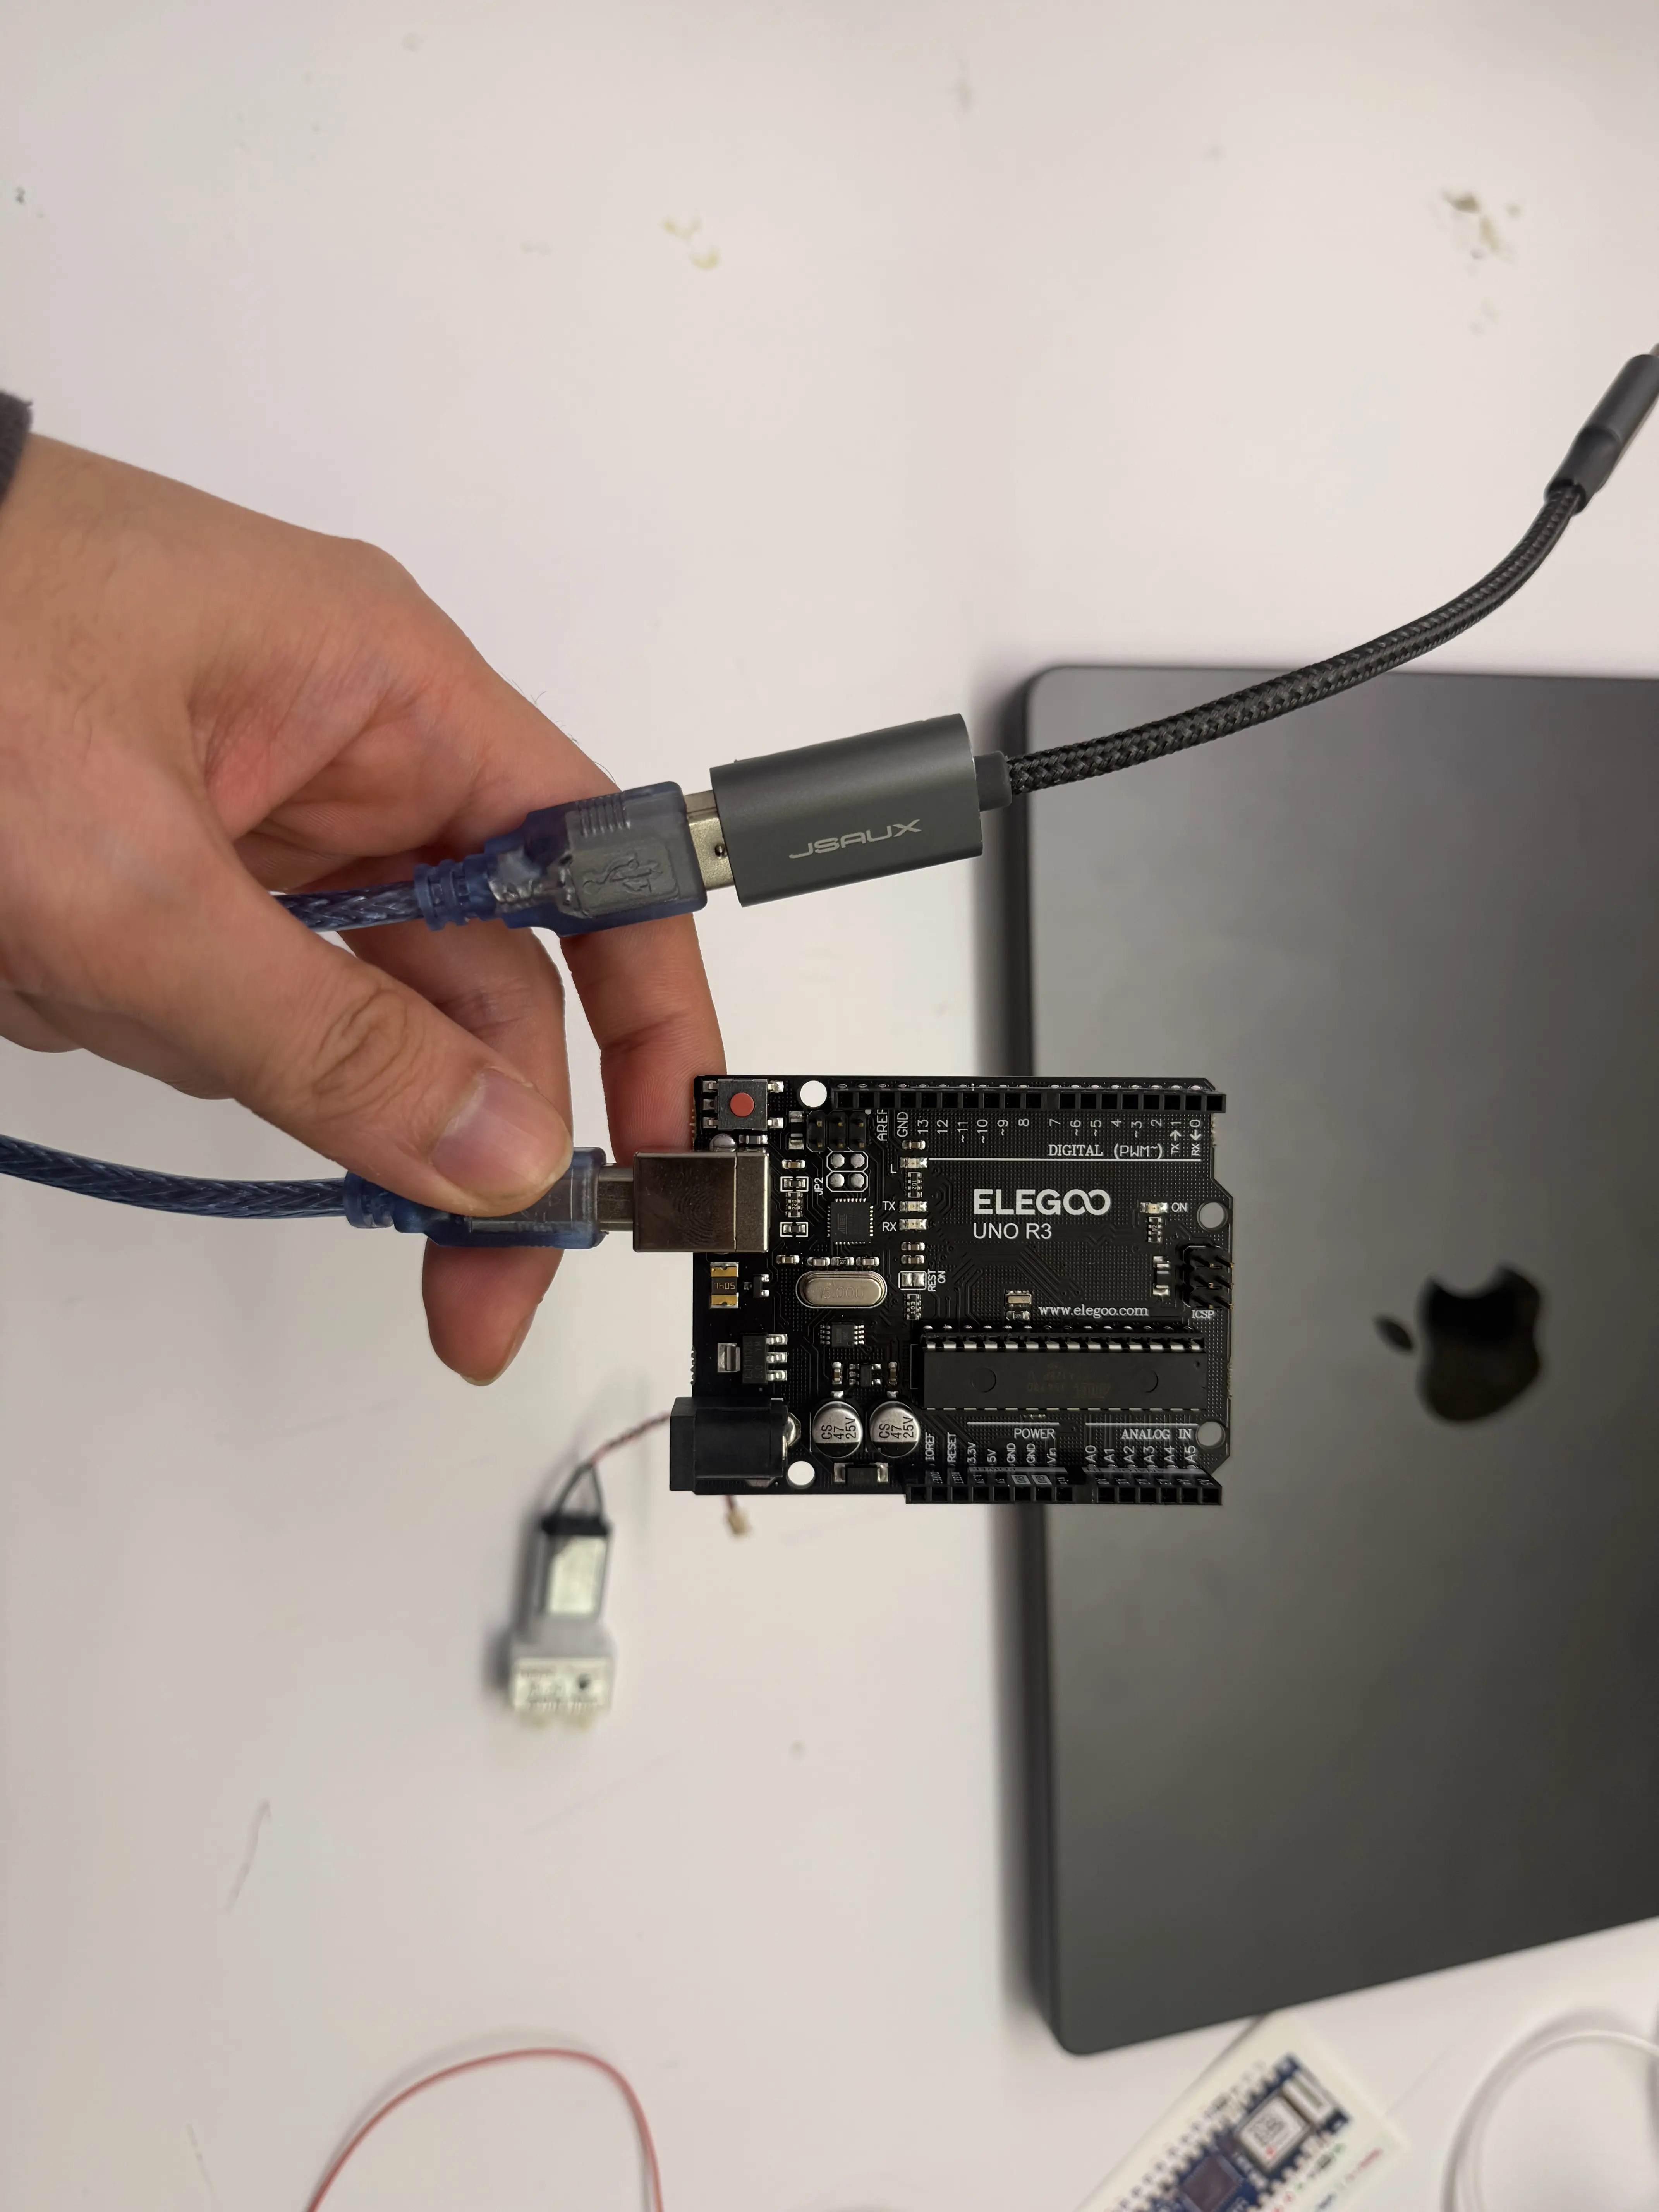
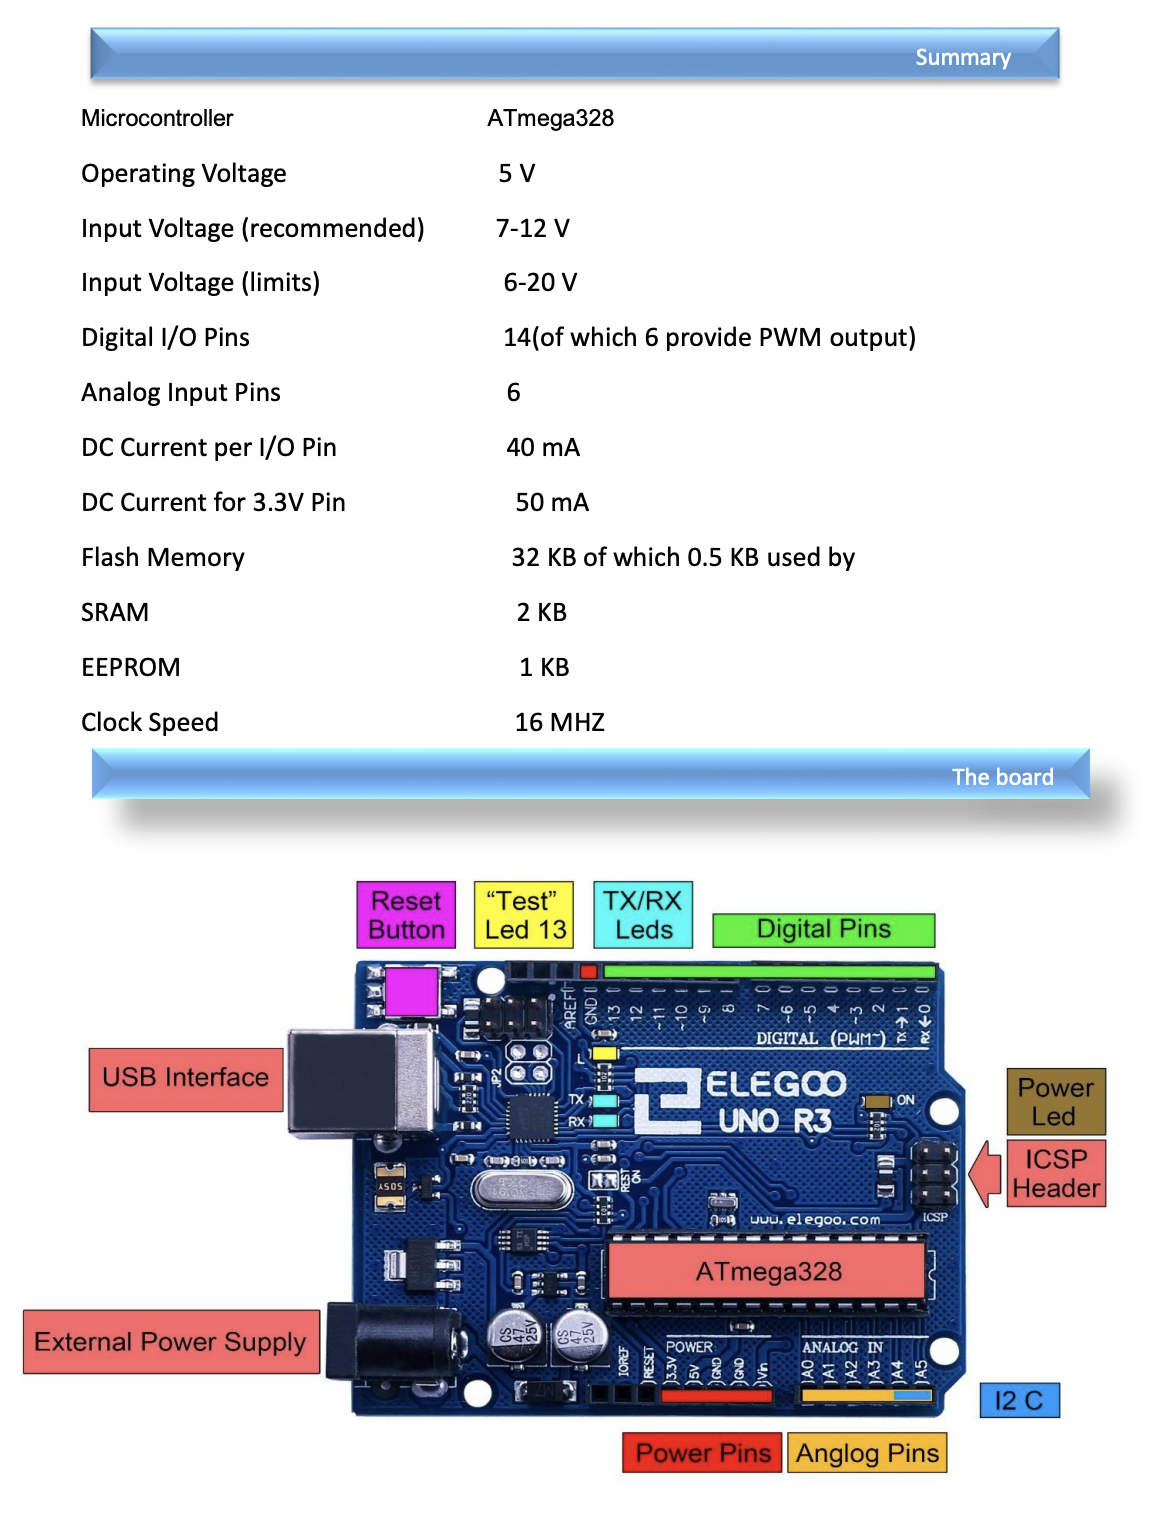
The Uno R3 also uses 5V logic, which is compatible with the HC-SR04 ultrasonic sensor's 5V Echo signal. Switching boards made it easier to troubleshoot the circuit and focus on understanding how the whole system works.