
Week 07: Midterm Project — Crying Statue
Imagine standing in front of this almost destroyed angel, with a pitch-black body, a white mask, and eyes you can barely see. It's sitting on a pedestal, and there's a heart visible inside its chest, but nothing is moving yet. The idea is that humanity has captured this angel and turned it into a machine, and now you and another person have to activate it. One of you is the donor, and the other is the operator. When you start, this calm voice welcomes you to the facility and explains what you have to do, as if everything happening here is completely normal. The donor connects, and suddenly the angel's heart starts beating at the exact same time as theirs. So you're looking at this creepy thing and realizing that it's borrowing your heartbeat. Meanwhile, the operator has to complete memory challenges, watching lights flash and repeating the sequence. But here's the fun part: the faster the donor's heart beats, the faster the game gets. So the operator is trying to concentrate, the donor is trying to stay calm, and both know that making a mistake will cause something to happen. With each error, the angel becomes more disturbing: you hear something from inside it, its eyes light up, it might tremble, or you suddenly hear its voice underneath the facility announcements. You're waiting for the next scare, which can make your heart beat faster, which makes the game even harder for your teammate. After three mistakes, you get this intense failure scene and have to start again. We want it to feel like a difficult challenge that people want to beat, but also leave them wondering what they're actually doing to this creature. Are we helping it come back to life, or are we the ones keeping it trapped?
1. How the Entire System Works
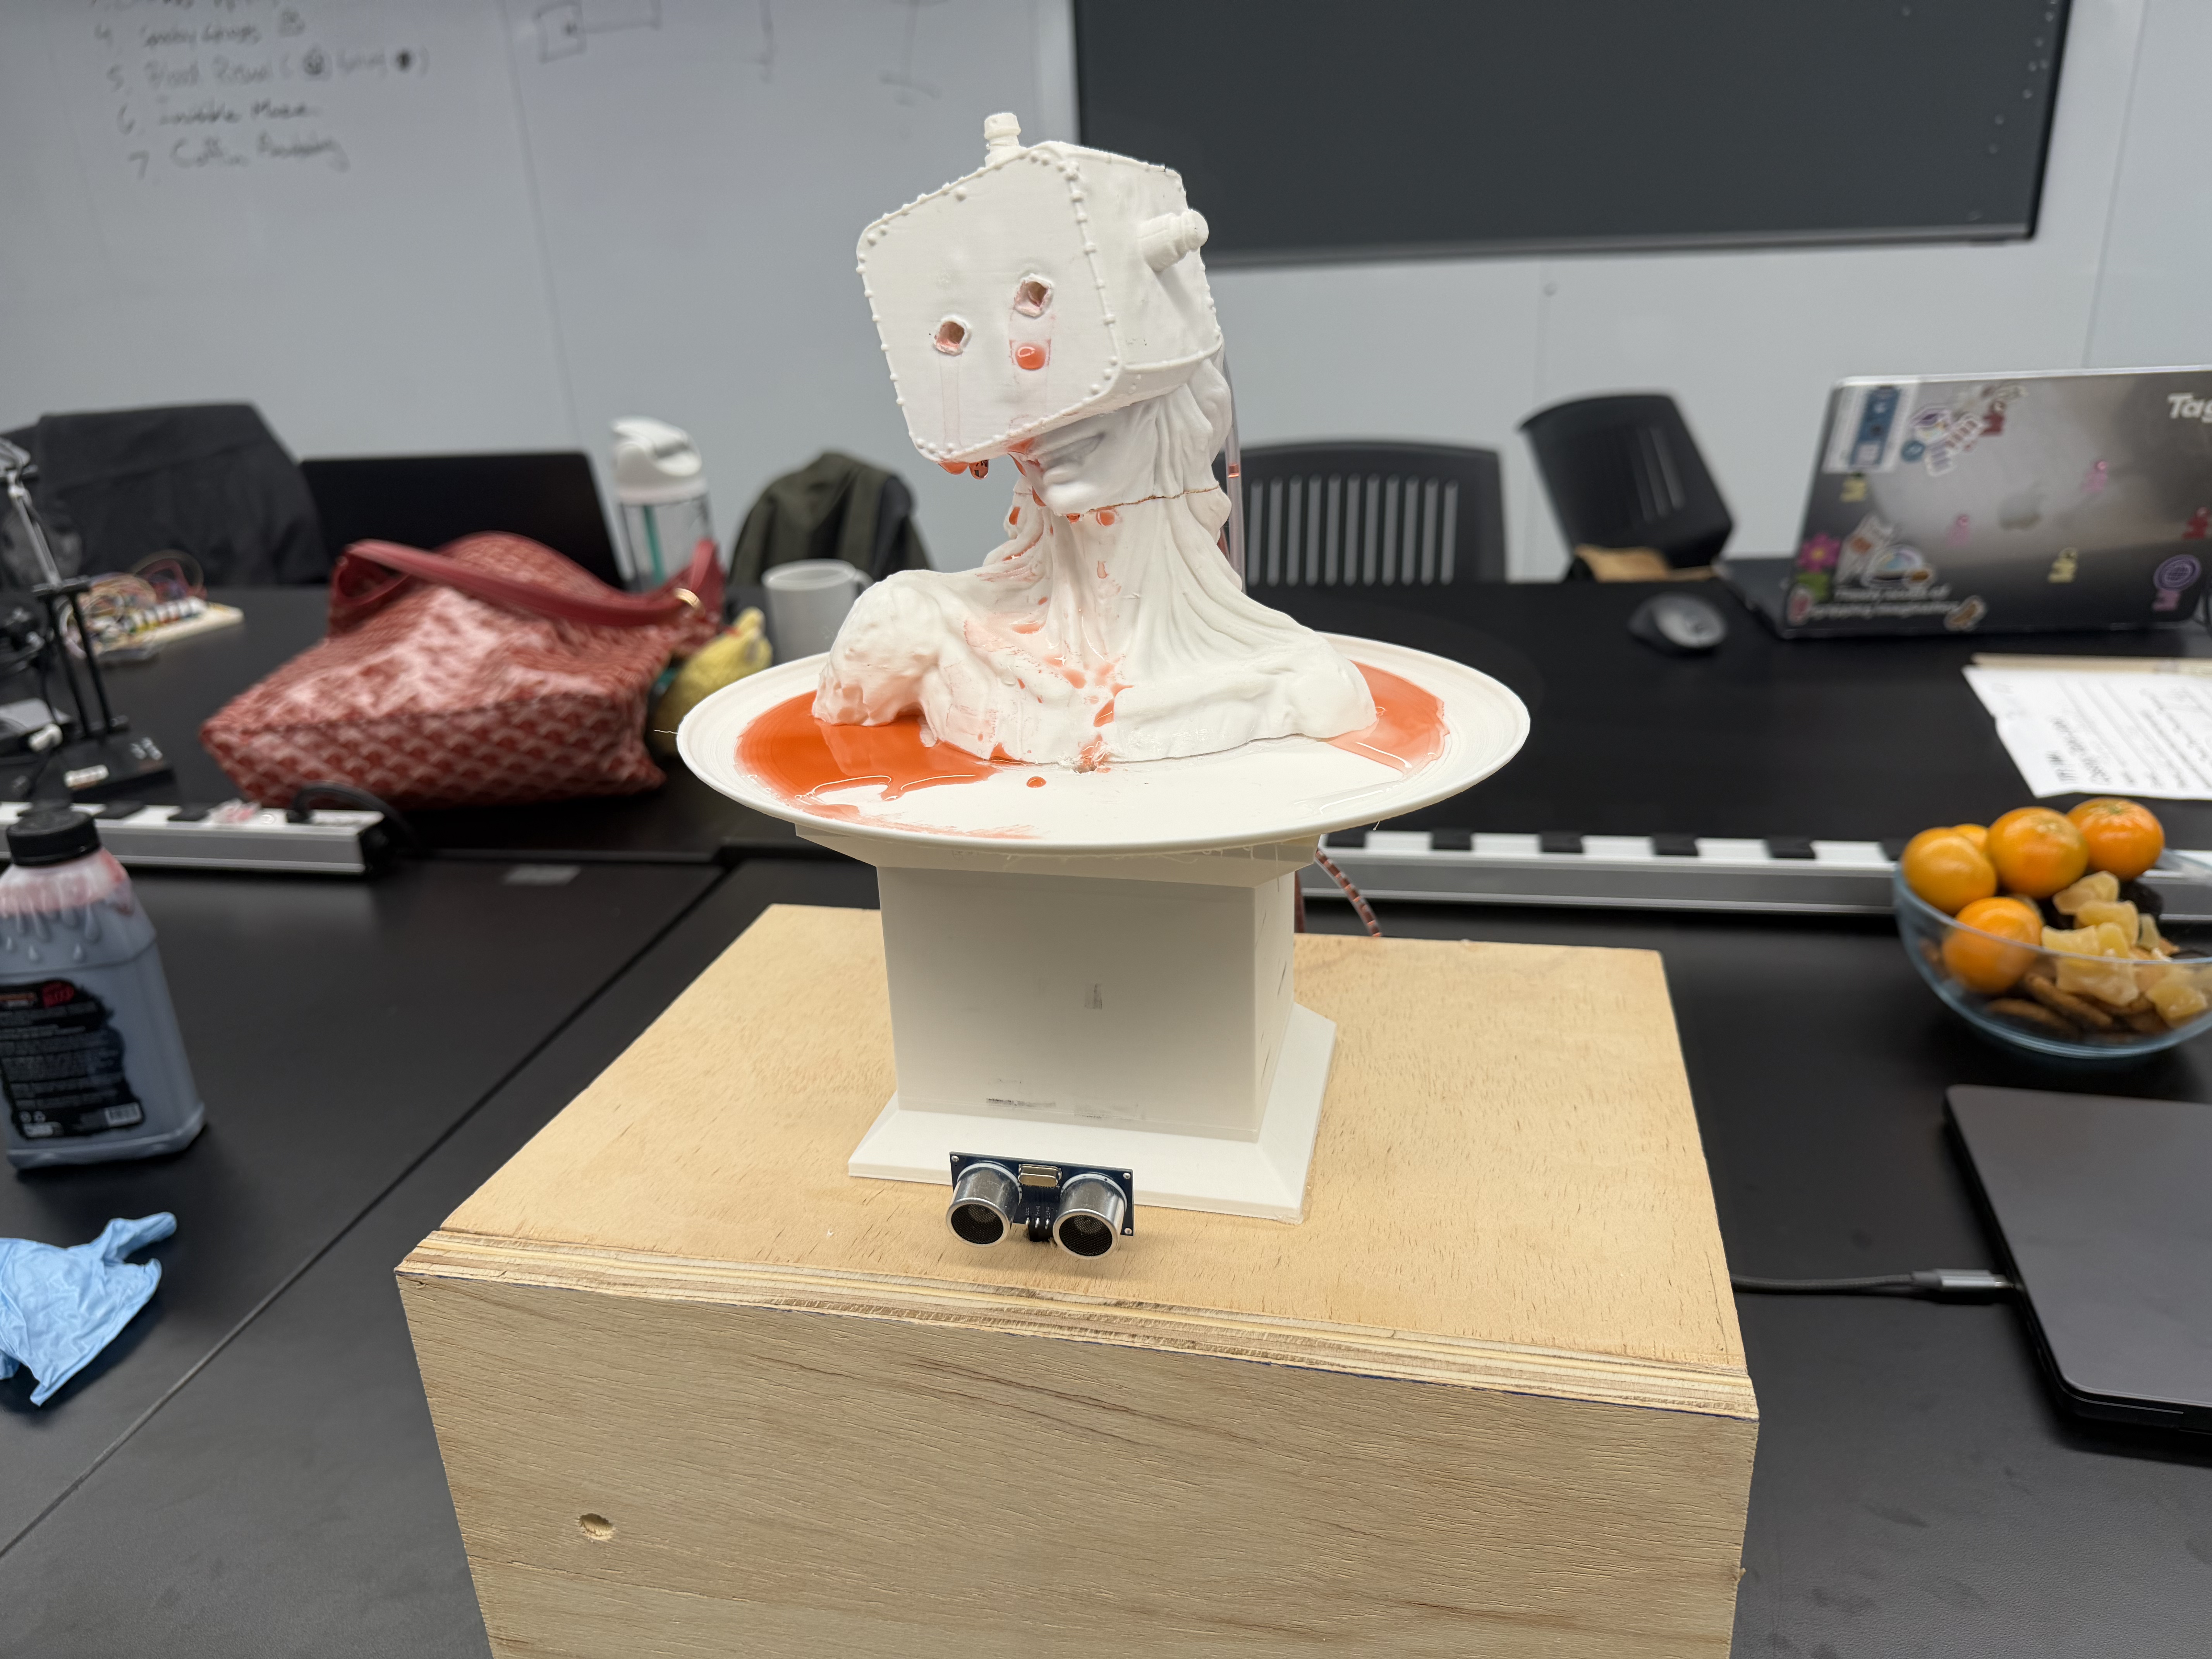
Unity acts as the central controller of the installation. It manages the memory game, simulated heartbeat, audio, narrative, timing, and different stages of the experience. An Arduino connects the physical controls and the angel's physical effects to Unity through USB serial communication.
The Arduino reads the donor contact button and the hidden voice button, then controls the angel's eye LEDs. Unity sends commands back to the Arduino when physical effects need to be triggered. A wired USB game controller provides four inputs for the operator's memory game.
The installation uses two visual displays. A small HDMI monitor inside the angel's chest shows the animated heart and fictional beats per minute (BPM), while the operator's display shows the memory sequence, instructions, progress, and errors. Powered speakers connected to the laptop play announcements, the angel's voice, heartbeat sounds, and other sound effects.
2. Main Components
- Unity on a laptop: Runs the game, narrative, timing, audio, and endings.
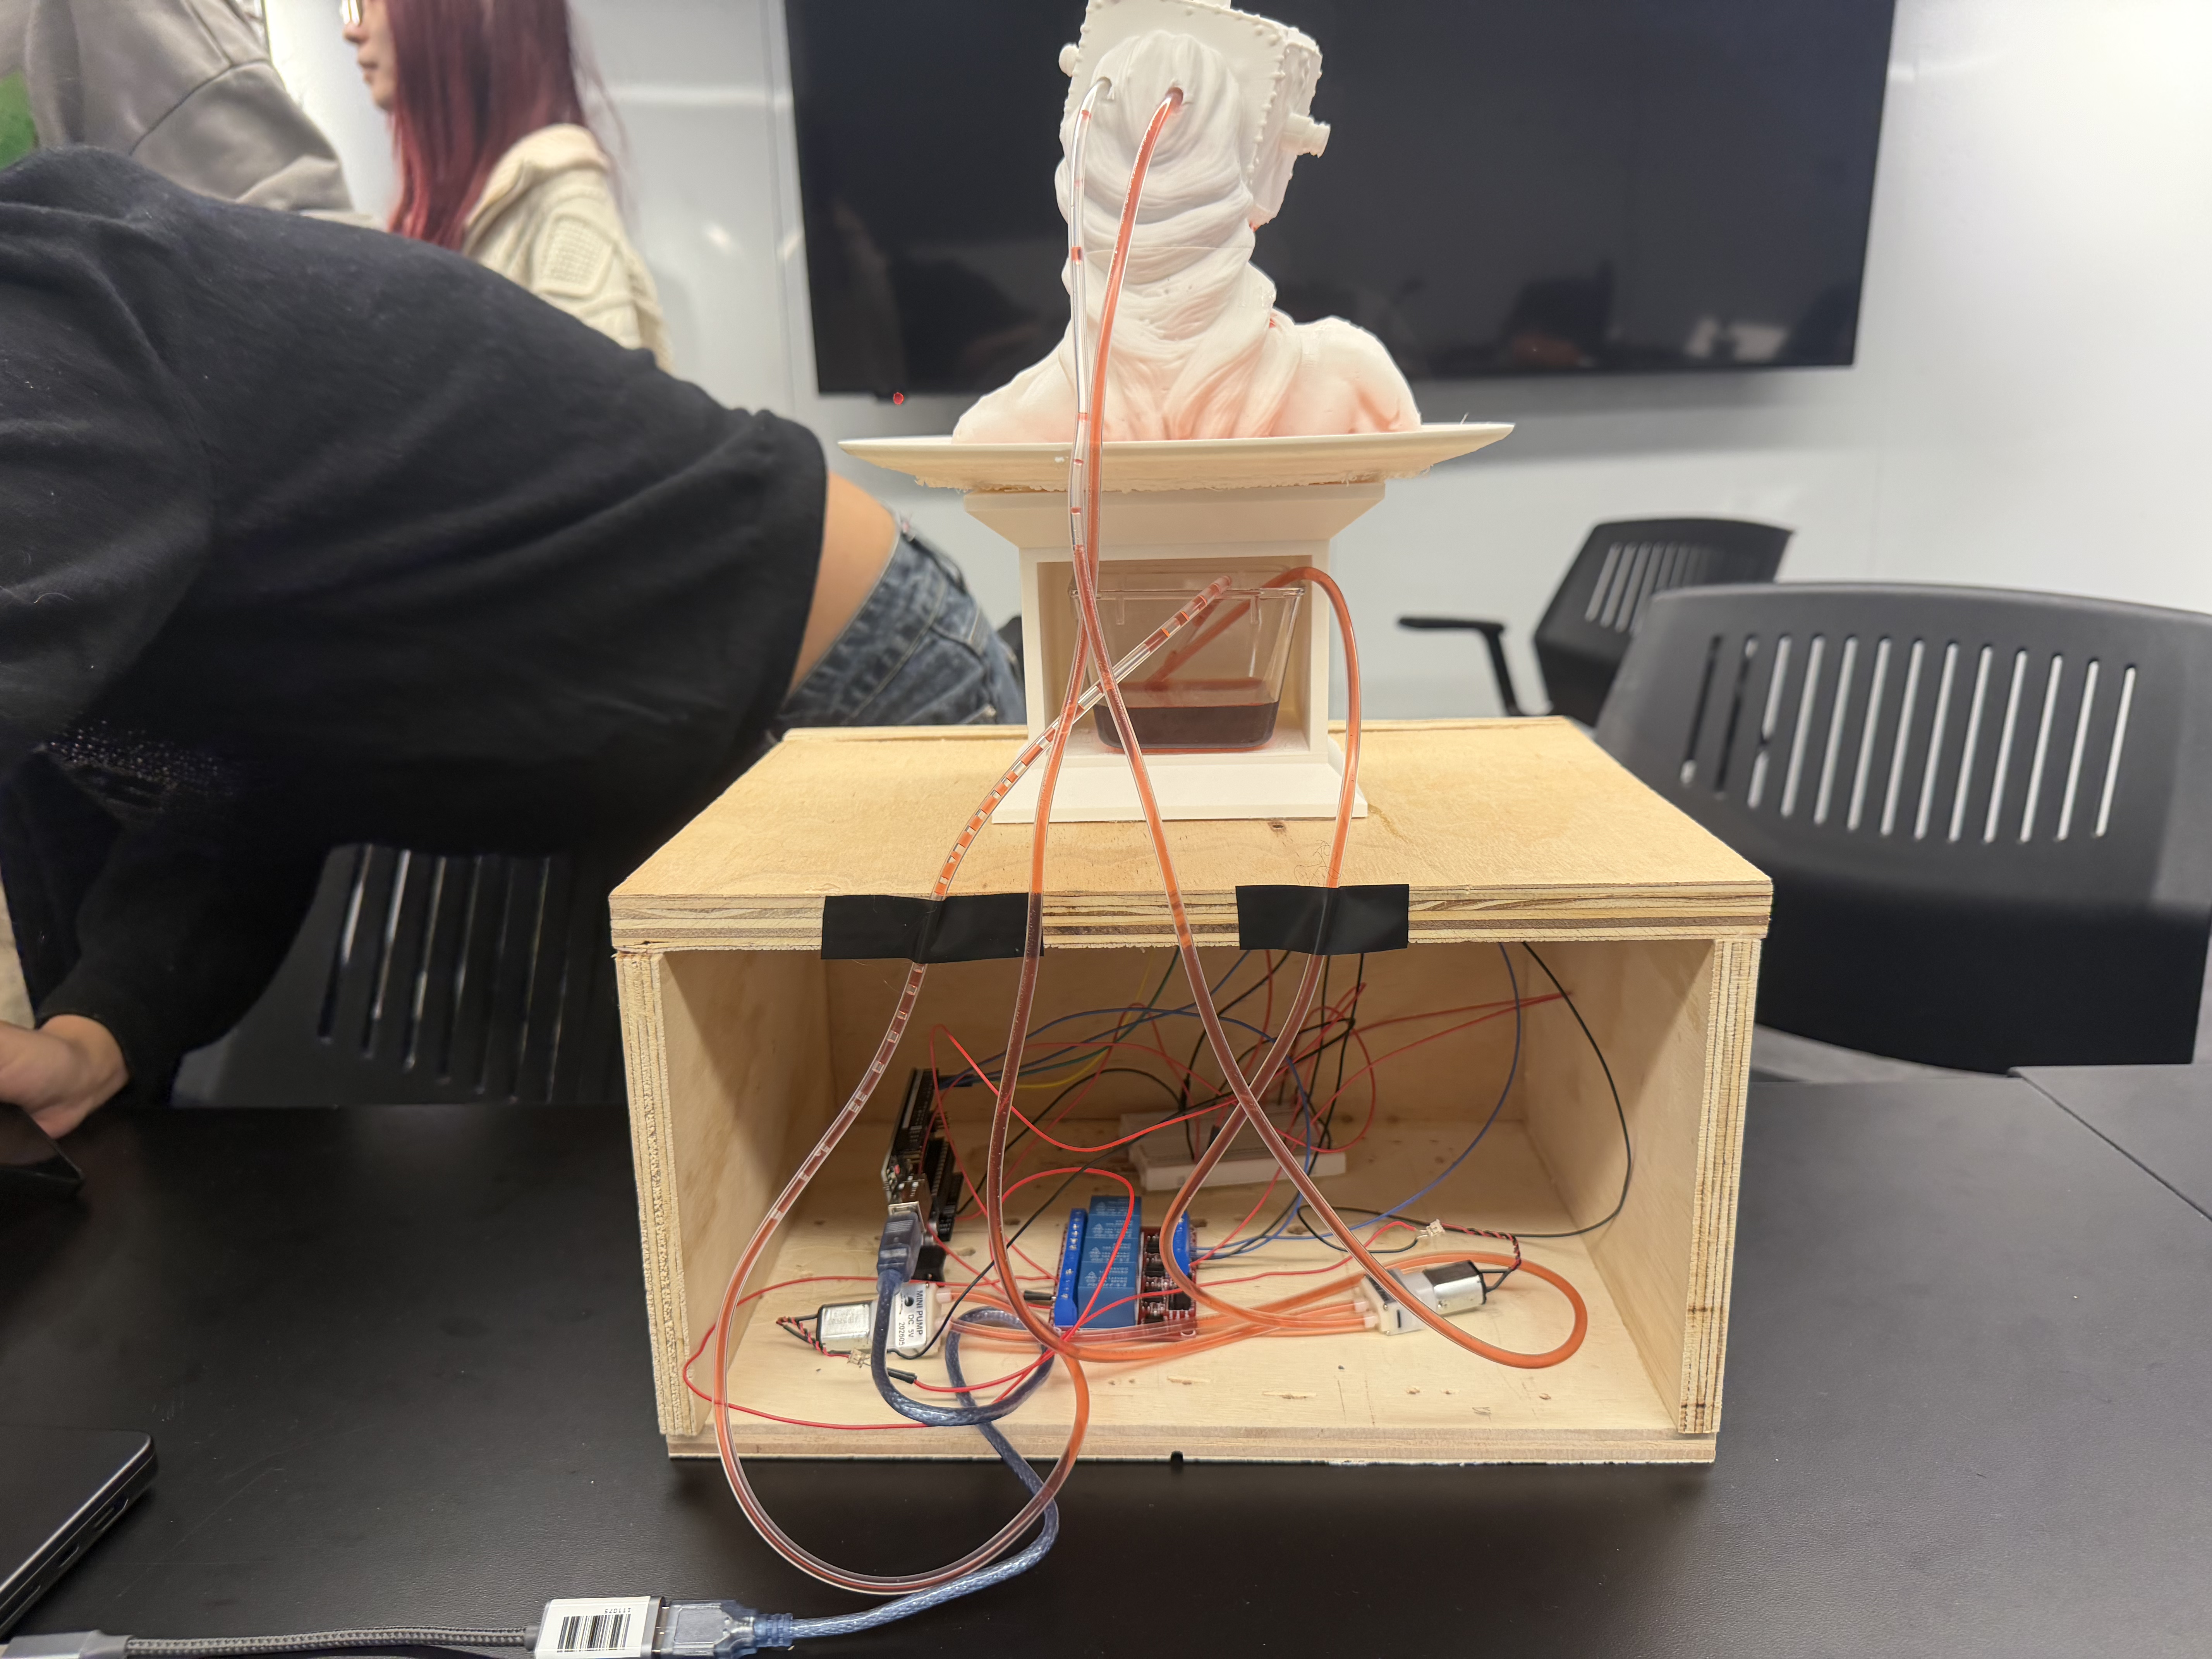
- Arduino Uno: Connects the physical controls and effects to the Unity application through USB.
- Donor contact button: A momentary button hidden beneath a finger pad detects whether the donor maintains contact.
- Operator controller: A wired USB game controller provides four inputs for the memory game.
- Chest display: A small HDMI monitor displays the animated heart and fictional BPM.
- Operator display: Shows the memory sequences, instructions, progress, and errors. This can be the laptop screen or a separate monitor.
- Powered speakers: Play facility announcements, angel voices, heartbeat sounds, and sound effects.
- Eye LEDs: Two LEDs controlled by Arduino illuminate the angel's eyes during disturbances.
- Hidden voice button: Allows the team to trigger the angel's voice manually during the experience.
- Optional moving jaw: A lightweight hinged jaw and servo can open the angel's mouth while the hidden voice button is held.
3. Connecting Arduino and Unity
Arduino and Unity communicate through USB serial messages. The Arduino reports physical events such as “donor connected,” “donor released,” and “voice button held.” A script in Unity reads these messages and responds accordingly. Unity can also send commands to Arduino, such as turning the eye LEDs on or off.
We will implement and test this communication early in development. Connecting the USB cable alone does not establish the interaction: both the Arduino program and the Unity application need instructions for sending, receiving, and interpreting messages.
4. The Automated Experience
The experience is divided into stages rather than playing as one continuous video. Pressing Start begins the awakening sound and welcome announcement. Unity then waits for the donor to place their finger on the contact pad. Once contact is detected, the heart appears, the introduction finishes, and the operator's challenge begins.
Between rounds, Unity can pause the game for an announcement or a disturbing interruption. The game resumes only when the interruption has finished. This allows the installation to wait, react to participants, pause, and resume based on their actions.
5. The Simulated Heartbeat
The donor's fictional heartbeat is generated inside Unity. It begins at approximately 75 BPM, fluctuates slightly, and gradually increases as the experience continues. Mistakes can cause an additional increase. This BPM value controls both the chest animation and the difficulty of the operator's challenge.
At the beginning, the operator sees a relatively slow sequence of three symbols. As the BPM rises, sequences become longer and play faster. We will define minimum and maximum speeds to keep the difficulty within an intentional range.
Removing the donor's finger pauses the challenge. When contact is restored, the current round plays again. The installation generates a fictional heartbeat for the experience and does not measure the donor's actual heart rate.
6. The Memory Game
The operator uses four controller buttons corresponding to four matching symbols. Unity displays a sequence and then waits for the operator to repeat it. A correct sequence advances the game, while an incorrect input or a timeout adds an error.
During a scare or interruption, the answer inputs and timer pause. This prevents one mistake from accidentally being counted as several. Each error triggers a progressively more disturbing response:
- First error: The eyes briefly illuminate and a mechanical sound plays.
- Second error: The heart image distorts and the atmosphere becomes more intense.
- Third error: The final failure sequence begins.
- Successful completion: Completing every round triggers a separate success ending.
7. The Chest Animation and Displays
We can model the heart in Blender and import it into Unity, where a contraction animation is triggered at each generated heartbeat interval. Alternatively, we can use pre-rendered animation frames.
The chest display will sit behind an opening in the torso, with its edges hidden so that it feels integrated into the angel's body. Unity will render the animated heart on this monitor while showing the memory game on the operator's display. We will verify the laptop's display output and multi-monitor support before finalizing the screen arrangement.

8. Sound and Voices
Audio will be organized into separate layers: background atmosphere, heartbeat, facility announcements, and the angel's voice. Keeping these layers separate allows the background to continue while a character speaks, or become quieter so that an interruption is easier to hear.
All recordings will be stored locally on the laptop, so the installation will not require an internet connection.
9. The Hidden Voice Button
The hidden button gives our team live control over the angel. Pressing it starts a prerecorded phrase, such as “Help me.” Releasing the button stops playback immediately, even in the middle of a sentence. Each new press can select another phrase.
This control does not change the score or advance the story. It allows the team to react to visitors while the main experience continues.
10. The Optional Moving Jaw
If we include a moving jaw, holding the hidden button will also tell Arduino to open the mouth. Releasing the button stops the voice and closes the jaw.
The mechanism will use a lightweight lower jaw, a hinge, and a servo connected through a short linkage. The servo will have a suitable motor power supply rather than drawing its operating current from an Arduino signal pin. We will test the movement with a lightweight mock-up before building the final mask.
The voice effect will still work if we decide not to include the moving jaw.
11. Physical Construction
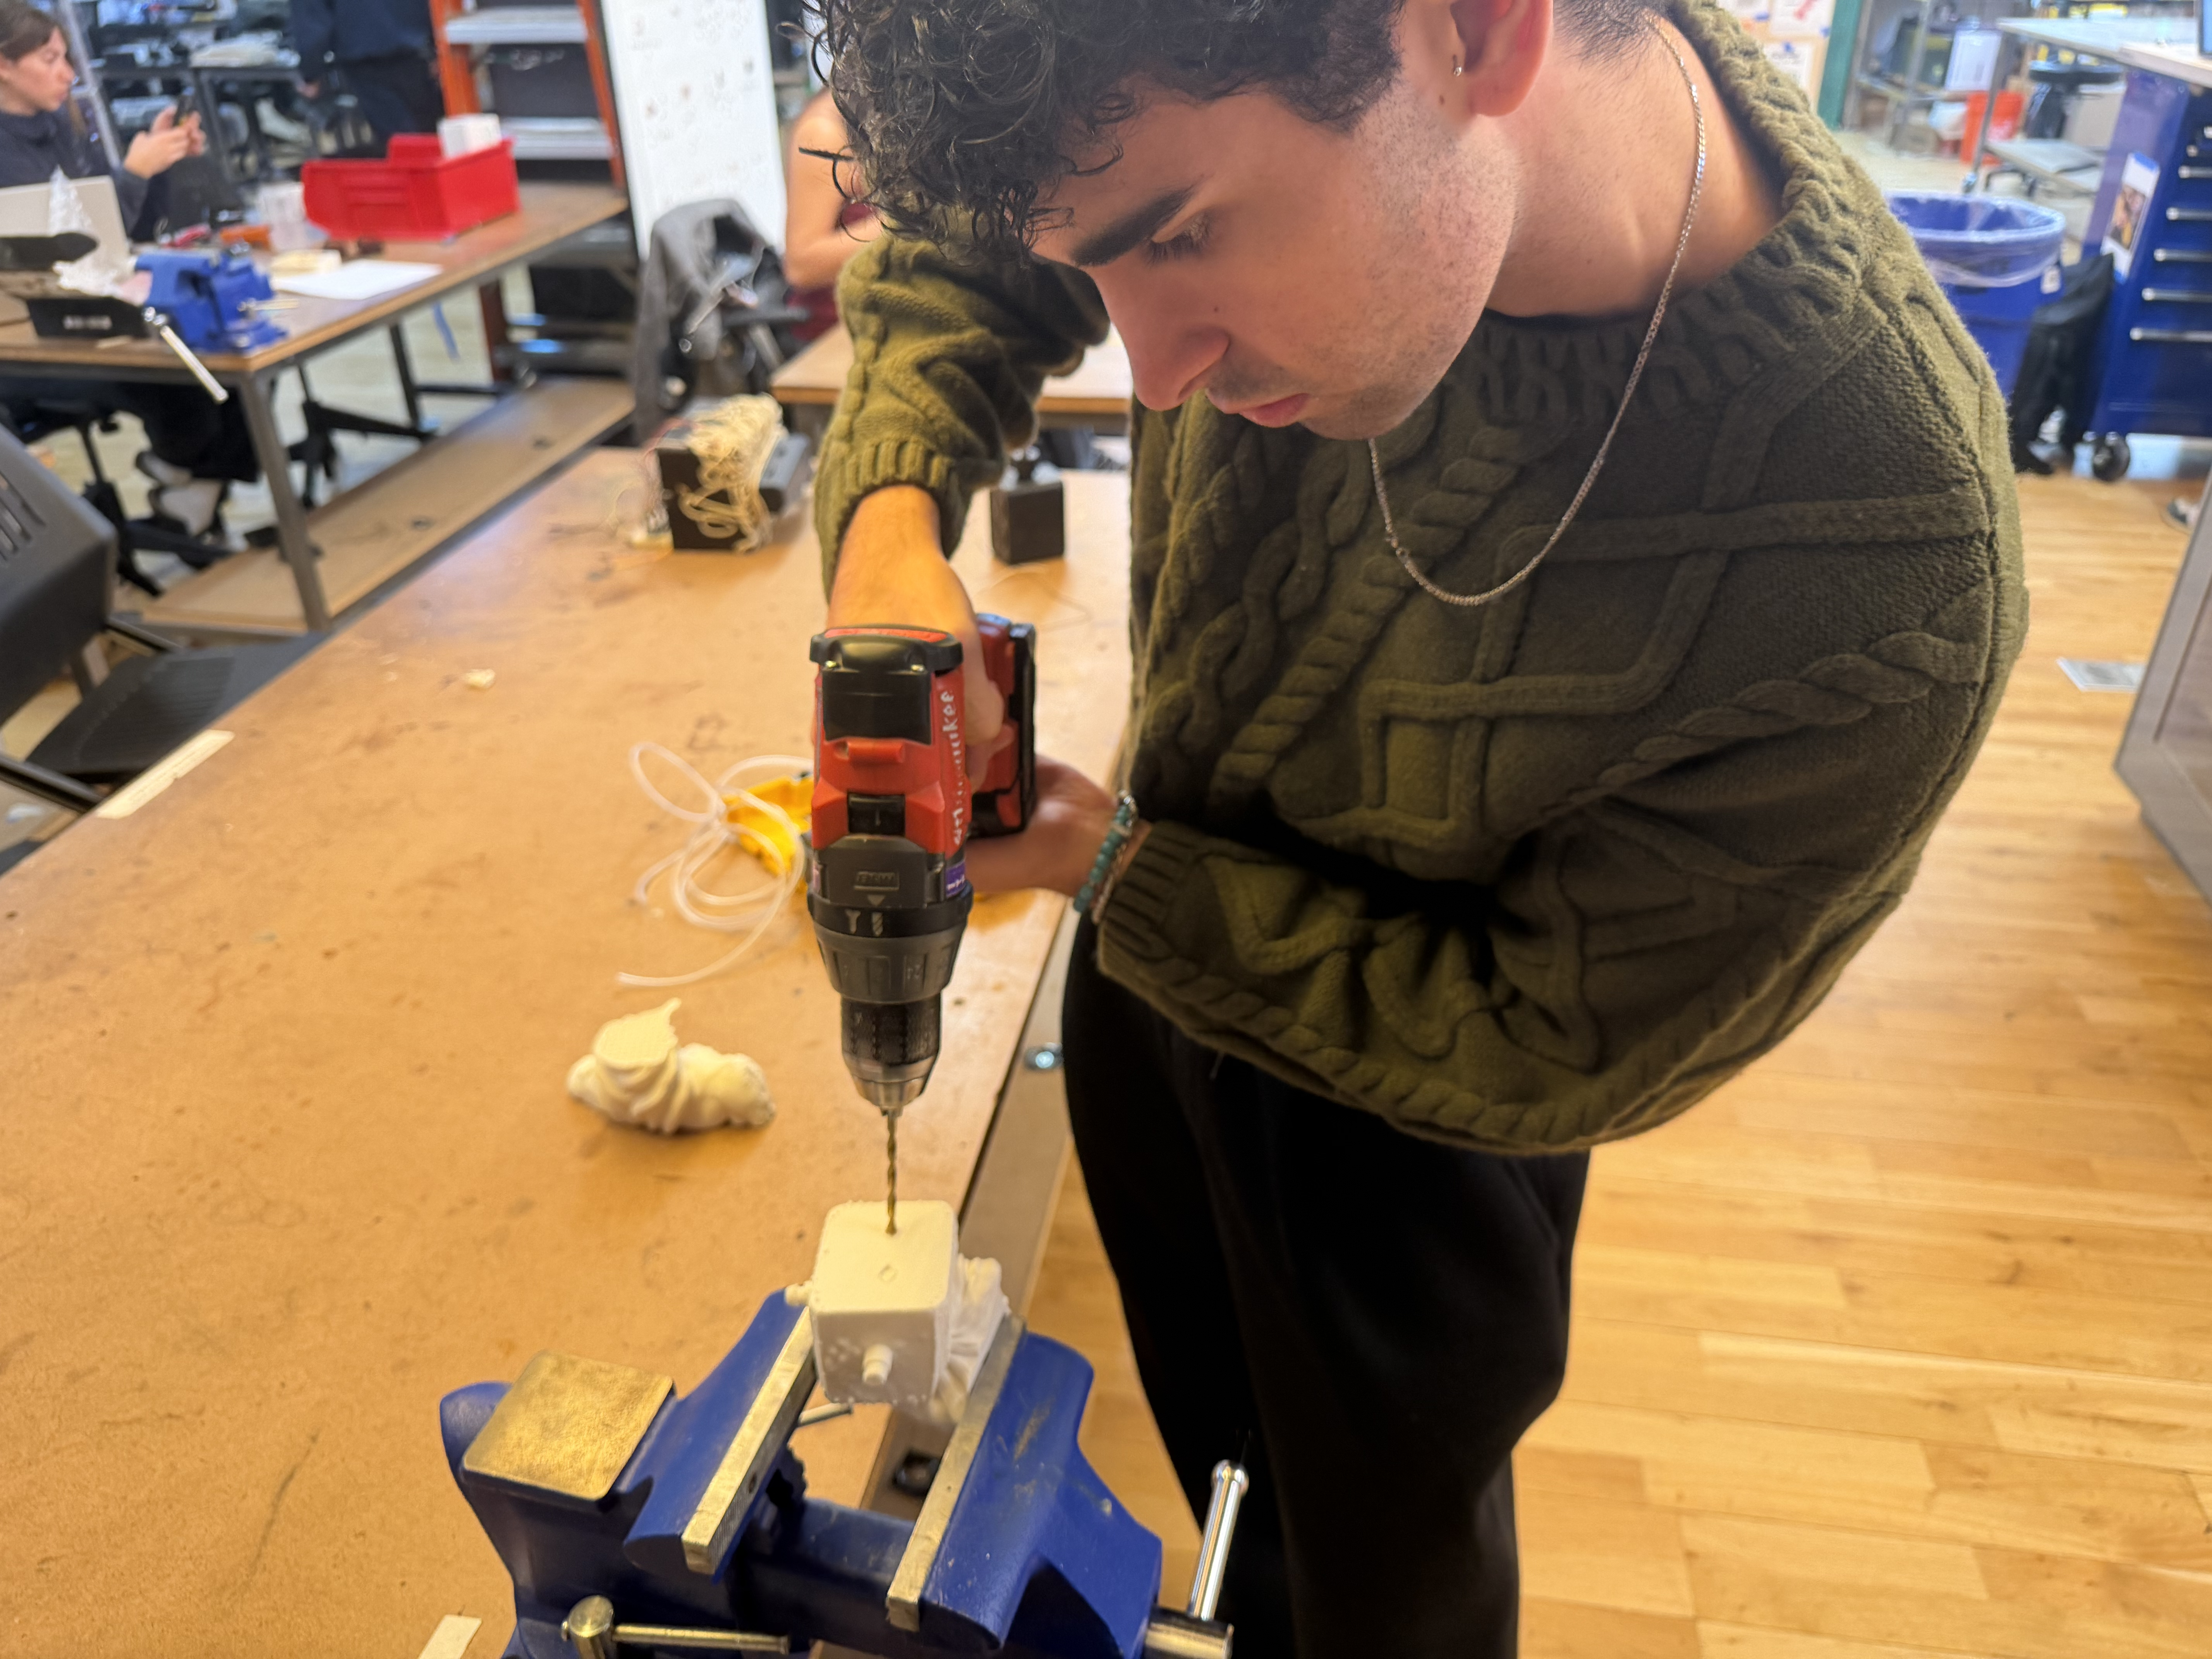
The installation will have three accessible sections: the sculpture containing the chest display and eye lights, the console containing the donor contact pad and operator controls, and the pedestal containing the speakers and cable management.
The electronics will remain accessible through removable panels, allowing us to fix loose connections or troubleshoot components without dismantling the entire angel.